How to choose crimp tools for terminals, ferrules and wire harness work
The short answer for selecting crimp tools
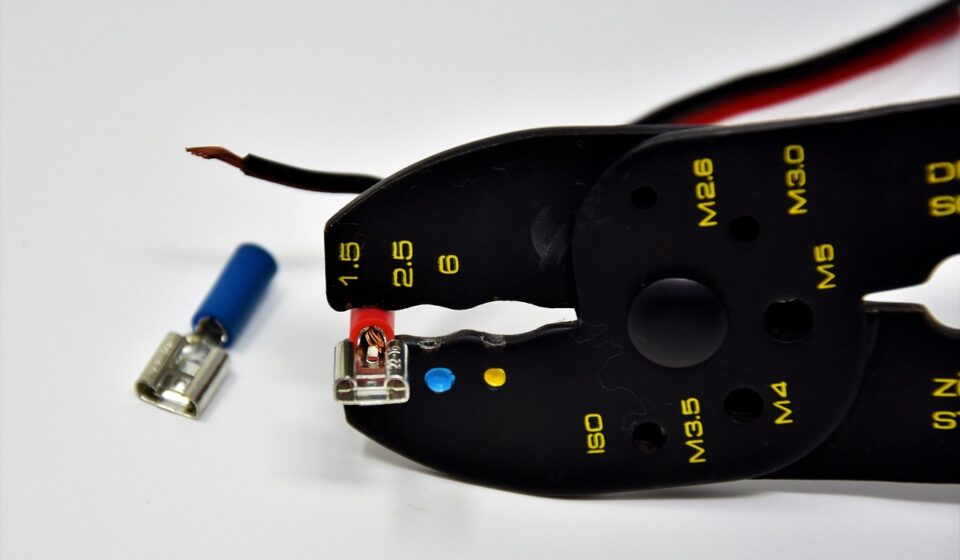
Crimp tools are not interchangeable pliers. A reliable crimp depends on the fit between the tool, die profile, terminal or ferrule, conductor size, insulation diameter and inspection method. For light repair work, a ratcheting hand crimper matched to the terminal family is usually the practical starting point. For control panels, ferrule tools should match the ferrule standard, cross-section range and terminal block requirements. For automotive, appliance and electronics harnesses, the connector manufacturer’s tooling data is more important than a generic jaw shape.
Standards and rules such as IPC/WHMA-A-620F, UL 486A-486B, UL 486F, OSHA hand-tool rules and NASA-STD-8739.4A all reinforce the same practical point: the tool must produce a repeatable mechanical and electrical joint, and that joint must be inspected and maintained as part of the process.
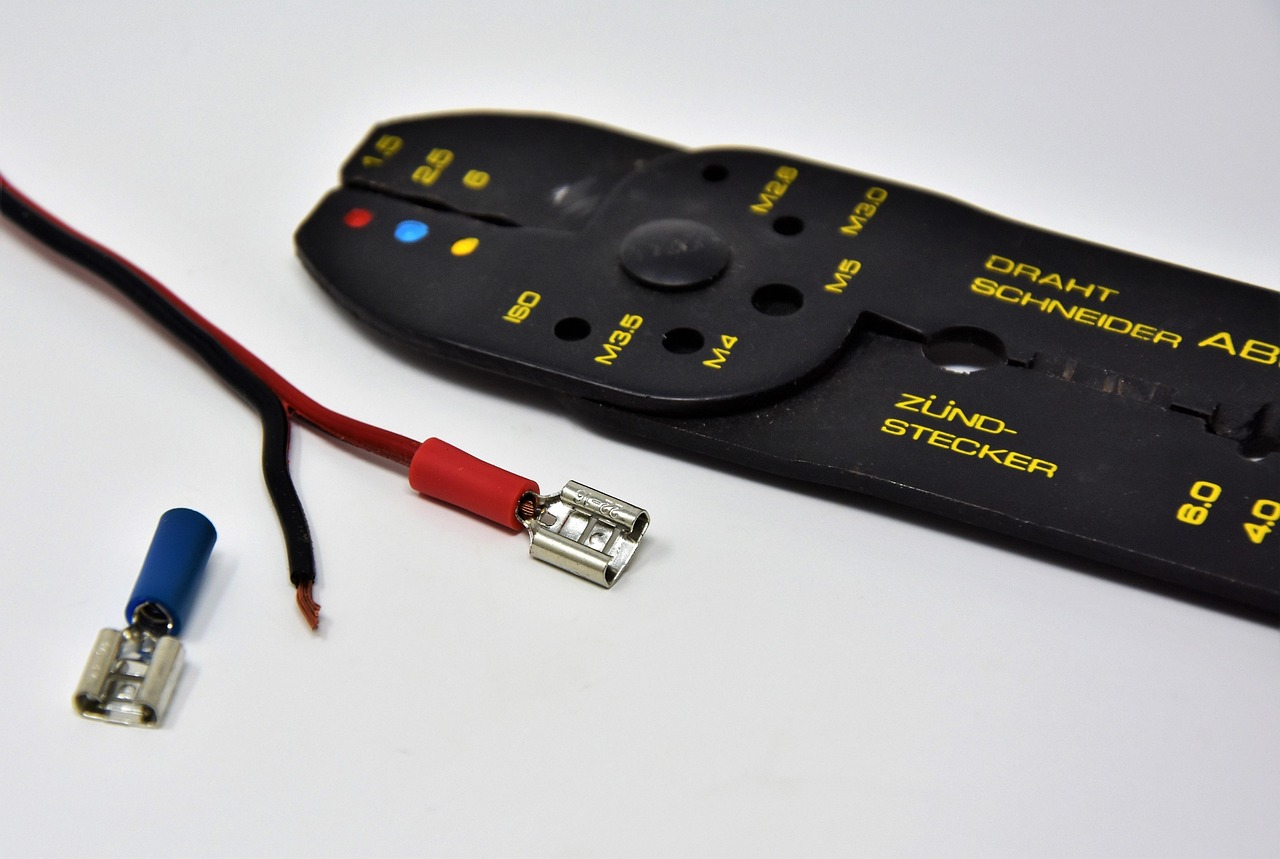
For related hand tools and workshop accessories, browse the Tools and Accessories section.
What a crimp tool actually controls
A crimp connection is made by deforming a metal barrel, ferrule or contact around a conductor. The crimp tool does more than squeeze metal. It controls compression, profile, alignment and, in many terminal systems, the relationship between the conductor crimp and the insulation support crimp. When the geometry is correct, the conductor strands are held firmly enough to maintain a low-resistance path and mechanical retention without cutting, flattening or overworking the wire.
The most common mistake is judging the tool only by wire size. Two terminals may both accept 18 AWG wire but still require different crimp wings, barrel lengths, insulation support shapes or crimp heights. A die that appears close can leave voids, split a seam, fold open-barrel wings incorrectly or crush insulation where it should only be supported. This is why many connector manufacturers publish terminal-specific information for application tooling, crimp height, strip length and pull force.
For industrial and harness work, the governing document may also matter. IPC/WHMA-A-620F, published in October 2025, is used for cable and wire harness acceptance criteria and includes crimped, mechanically secured and soldered interconnections. It does not replace product drawings or customer requirements. OSHA’s general hand-tool rules also place responsibility on employers to keep tools in safe condition. In practice, the crimp tool should be selected as part of a termination system, not treated as a stand-alone accessory.
Common types of crimp tools and where they fit
| Tool type | Typical use | Key selection point |
|---|---|---|
| Ratcheting hand crimper | Field wiring, maintenance, low-volume assembly | Look for a full-cycle ratchet, matched die and clear wire-size marking. |
| Interchangeable die crimper | Shops that handle several terminal families | Confirm each die is approved for the connector or terminal, not only the AWG range. |
| Ferrule crimper | Control panels, terminal blocks, stranded conductor preparation | Match ferrule size, ferrule style and crimp shape such as square, hex or trapezoid. |
| Open-barrel terminal crimper | Automotive, appliance, electronics and harness contacts | Use tooling matched to the contact series so conductor wings and insulation wings form correctly. |
| Coaxial or modular plug crimper | RF cable, data cable and telecom connectors | Match connector type, cable construction and die dimensions. |
| Bench, pneumatic or applicator tooling | Production harness and cable assembly | Prioritize repeatability, documented setup, operator training and inspection records. |
Basic non-ratcheting crimp pliers still appear in many toolboxes, but they rely heavily on operator feel and are easy to under-crimp or over-crimp. For occasional noncritical repairs they may be convenient. For repeatable electrical work, a controlled-cycle ratcheting tool is usually easier to standardize because the tool must complete its stroke before release.
How to match the crimp tool to the job
Start with the connector or terminal data
The connector, not the crimper, should drive the selection. Identify whether the job uses insulated terminals, uninsulated lugs, open-barrel contacts, closed-barrel contacts, bootlace ferrules, coax connectors or modular plugs. Then check the terminal manufacturer’s recommended tooling, wire range, strip length and crimp profile. If the part is safety listed, the installation instructions and ratings become especially important.
Confirm wire size, strand construction and insulation diameter
Wire size markings can mislead when AWG and metric cross-section are mixed. A 1.5 mm² conductor and a 16 AWG conductor are close in many practical settings, but they are not identical specifications. Strand count and conductor flexibility also affect how the barrel fills. Insulation diameter matters for terminals with insulation support wings or sleeves because the conductor may fit while the insulation support is too loose or too tight.
Choose the correct die shape
Die shape determines the final crimp profile. Ferrules may be formed into square, hexagonal, trapezoidal or other profiles depending on the tool and the terminal block environment. Open-barrel contacts need wings rolled into the conductor, not flattened at random. Coax connectors need the shield, braid and dielectric supported in the intended locations. A die that only seems to fit the outside diameter is not enough evidence of compatibility.
Decide how much repeatability you need
A workshop doing occasional repairs may only need a durable ratcheting hand tool and a small set of verified dies. A panel shop may need self-adjusting ferrule tools that cover a defined conductor range. A harness production line may need bench presses, applicators, crimp-height measurement and pull testing. The higher the volume or the consequence of failure, the more the decision shifts from tool price to process control.
Quality checks after crimping
A good crimp should pass more than a quick tug. Visual inspection can catch obvious problems such as missing strands, incorrect strip length, damaged insulation, uneven barrel deformation, cracked plating, bent contacts or insulation trapped in the conductor crimp. For open-barrel terminals, the conductor crimp and insulation support should be evaluated separately because they perform different functions.
Dimensional checks are important where a manufacturer publishes crimp height or crimp width. TE Connectivity and Molex application tooling guidance both emphasize the role of crimp height, pull force, strip length and tool condition in a proper quality process. A crimp that looks neat can still be under-compressed. A crimp that feels strong can still be over-compressed and damaged internally. See also: Buying Guides.
Pull testing verifies mechanical retention, but it should be performed against the correct standard, terminal data or customer requirement. Continuity testing alone is not enough because a weak crimp can conduct during inspection and fail later under vibration, temperature cycling or handling. For documented assembly work, record the tool, die, terminal, wire size, operator and inspection result when the specification requires traceability.
Mistakes that make good crimp tools perform poorly
- Using one universal die for many terminals. A similar-looking barrel can need a different profile, height or wing formation.
- Ignoring strip length. Too short may leave poor conductor engagement; too long may expose bare wire beyond the safe area.
- Crimping over soldered strands unless required. Solder can wick into flexible wire and create a stiff transition point. Follow the assembly instruction rather than adding solder as a habit.
- Mixing ferrules and terminals without checking ratings. Ferrules are useful in many panel and terminal block applications, but the terminal block and installation rules still matter.
- Double-crimping to fix a poor crimp. Re-squeezing a failed crimp can hide damage. It is safer to cut off the termination, inspect the cause and remake it with the correct setup.
- Letting dies wear without inspection. Worn, chipped, dirty or misaligned dies can change the crimp profile even when the operator technique stays the same.
- Assuming color coding is universal. Color bands on insulated terminals or ferrules may vary by system, region or manufacturer, so check size markings and data sheets.
A practical selection matrix for buyers
| Application | Suggested tool direction | What to verify before buying |
|---|---|---|
| Home and light maintenance repairs | Ratcheting crimper for the exact insulated or uninsulated terminal type used most often | Terminal size range, die marking, release function and replacement die availability |
| Industrial control panels | Ferrule crimper with a defined mm² range and suitable profile for the terminal blocks | Ferrule standard, single or twin ferrules, square or hex profile and ergonomic cycle force |
| Automotive wiring | Open-barrel crimper matched to the connector family | Contact series, conductor crimp, insulation support and sealed connector requirements |
| Electronics harness work | Manufacturer-approved hand tool or bench applicator | Crimp height data, pull-force requirement, inspection class and operator training needs |
| Coaxial and network cable | Connector-specific crimper and cable preparation tools | Cable type, connector body dimensions, strip tool settings and required test method |
| Production assembly | Bench press, pneumatic tool or applicator system with documented setup | Maintenance plan, calibration process, spare tooling, traceability and inspection frequency |
This matrix is not a substitute for manufacturer instructions, but it helps buyers avoid a common procurement error: buying by jaw capacity alone. Capacity tells you what size may physically fit. Compatibility tells you whether the tool can produce the intended crimp.
Maintenance and storage matter
Crimp tools should be kept clean, dry and protected from impact. Dies should close evenly, ratchets should release correctly and handles should not be modified for extra leverage. If a tool is dropped, overloaded or used on the wrong material, inspect it before returning it to work. Molex guidance notes that operators should check tools before, during and at the end of production, which is sensible practice even outside formal harness manufacturing.
For professional environments, assign tools by identification number and keep dies with their matching frame when required. Store small dies in labeled cases to prevent mix-ups. If calibration or verification is required by a customer or quality system, set a review interval based on use, risk and manufacturer guidance rather than waiting for visible damage.
Frequently asked questions
Can regular pliers be used instead of crimp tools?
Regular pliers can flatten a terminal, but they do not control crimp geometry. For electrical terminations that need reliability, a proper crimp tool matched to the terminal is the safer choice.
Are ratcheting crimp tools always required?
Not always, but ratcheting tools improve repeatability because they encourage a full crimp cycle. They are especially useful for maintenance teams, panel shops and any work where multiple people must produce similar results.
Is a square or hex ferrule crimp better?
Neither shape is automatically better in every application. The correct choice depends on the ferrule, conductor range, terminal block design and any applicable listing or customer requirement. Square crimps often fit well in many clamp terminals, while hex crimps may be preferred in other systems.
How do I know if a crimp tool is compatible?
Check the terminal or connector manufacturer’s tooling recommendation, the wire size range, die number, strip length and any published crimp height or pull-force data. If those cannot be confirmed, treat compatibility as uncertain.
When should a crimp tool be replaced?
Replace or service the tool when dies are worn, cracked, misaligned, corroded or unable to produce consistent inspection results. A tool should also be checked after a drop, misuse or any unexplained crimp failure.
Final buying perspective
The right crimp tools reduce failures by making the termination repeatable. For simple work, that may mean a reliable ratcheting hand crimper and correctly sized terminals. For panel wiring, it may mean a ferrule tool matched to the conductor range and terminal block practice. For harness production, it usually means documented tooling, inspection criteria and maintenance records. In every case, the best decision starts with the connector data and ends with a crimp that can be visually, mechanically and, when required, dimensionally verified.