Tile tools for cutting, setting, and finishing installation work
What tile tools need to do on a modern jobsite
Tile tools are part of the installation system, not accessories pulled out only when a problem appears. They affect cut accuracy, mortar coverage, dust control, grout quality, and how quickly a crew can work without creating rework. A practical kit should follow the job sequence: layout, cutting, surface preparation, mixing, troweling, bedding, spacing, leveling, cleaning, and finishing. The right setup depends on tile format, hardness, site conditions, and whether the work is dry interior flooring, a shower, an exterior surface, or a large-format panel installation.
For buyers, contractors, and distributors, the most useful way to evaluate tile tools is to ask what risk each tool reduces. A wet saw or rail cutter helps reduce breakage on hard porcelain. A suitable notched trowel helps reach the required mortar contact. A mixing paddle supports consistent mortar. A HEPA vacuum or wet cutting setup supports safer silica dust control. This guide organizes the main tool categories and explains where each one matters most.
For more hardware and jobsite equipment topics, visit the Tools and Accessories section.
Build the kit around the installation sequence
A tile installation rarely fails because one expensive tool is missing. More often, problems start with weak links in the sequence: inaccurate layout, rushed cutting, poor substrate preparation, the wrong trowel, inconsistent mortar mixing, or inadequate cleaning before grout cures. A balanced tool kit should cover every stage before adding specialty items.
Layout and measurement tools
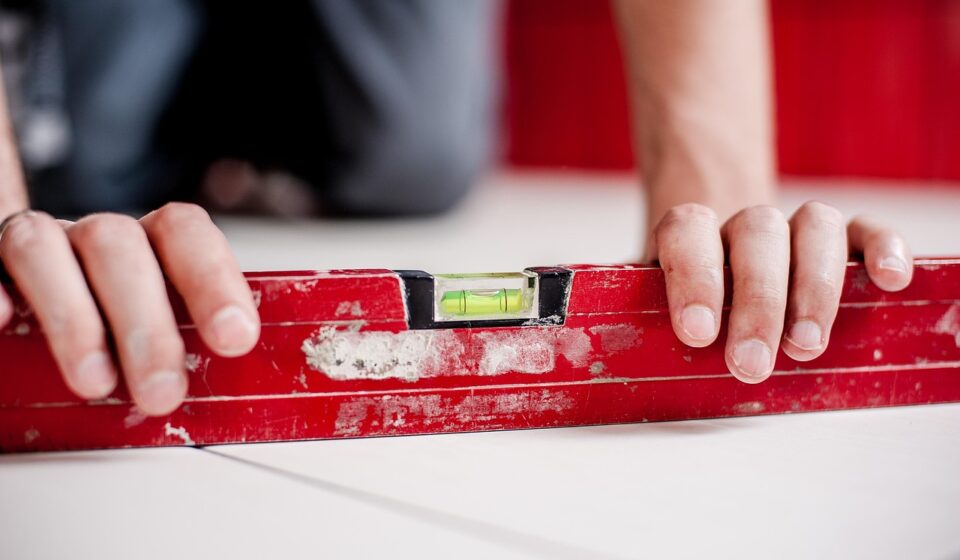
Layout tools include tape measures, straightedges, chalk lines, laser levels, squares, tile markers, spacers, and layout boards. Their job is to stop small measurement errors from becoming visible at walls, transitions, niches, drains, and doorways. Laser levels are especially useful for wall tile and shower work because they help maintain reference lines when the floor or ceiling is not perfectly level.
For large-format tile, layout tools also help control joint alignment and reduce narrow perimeter cuts. A layout plan should be completed before cutting begins, especially when using patterned tile, veined porcelain, mosaics, or panels where visual continuity matters.
Cutting and shaping tools
Cutting tools include manual tile cutters, wet saws, rail saws, angle grinders, diamond blades, hole saws, nippers, rubbing stones, polishing pads, and drill guides. Manual cutters are efficient for straight cuts in many ceramic and porcelain tiles. Wet saws and rail saws are better suited to harder materials, thicker tile, miters, and repeat cuts. Angle grinders handle notches, curves, and field adjustments, but they require careful dust control and operator skill.
The blade is as important as the machine. A blade designed for porcelain may behave differently from one intended for ceramic, stone, or glass. Using the wrong blade can increase chipping, heat, dust, and wasted tile.
Mortar mixing and setting tools
Mixing buckets, low-speed drills, mixing paddles, margin trowels, notched trowels, flat trowels, beating blocks, rubber mallets, suction cups, and tile vibrators all influence how tile beds into mortar. Mortar should be mixed according to the product instructions, allowed to slake when required, and remixed before use. Over-watering or high-speed mixing can weaken performance and change working time.
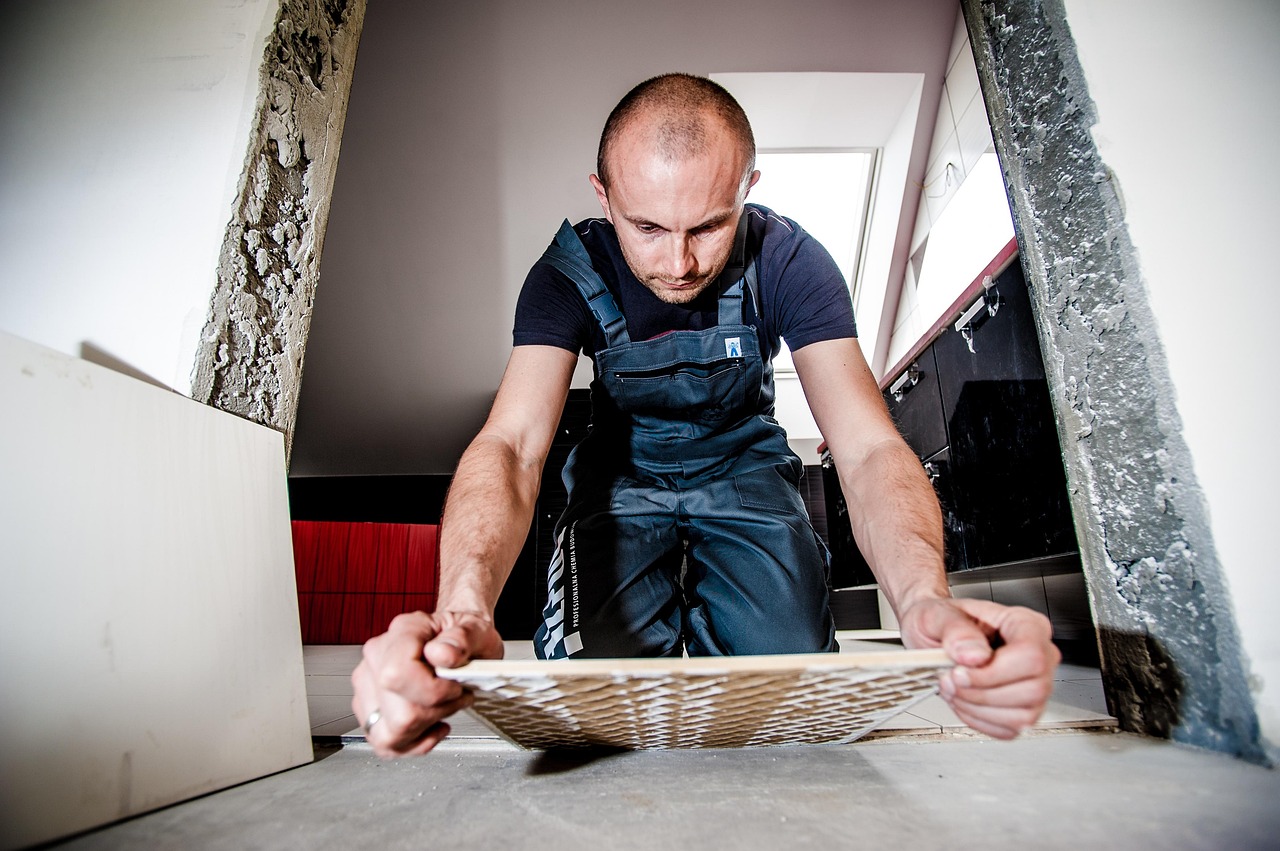
Notched trowels deserve close attention because they control mortar volume and ridge shape. The aim is not simply to spread mortar quickly. The aim is to obtain enough contact after the tile is embedded.
Spacing, leveling, grouting, and cleanup tools
Spacers, wedges, leveling clips, grout floats, wash buckets, sponges, microfiber cloths, scraper blades, and joint-cleaning tools affect the final appearance. Leveling systems can help reduce lippage between adjacent tiles, particularly with large-format porcelain, but they are not a substitute for a flat substrate, suitable mortar, or correct trowel technique.
Cleanup tools matter because hardened mortar or grout residue can make an otherwise sound installation look poor. Crews should plan for cleaning during the work, not only at the end of the day.
How standards and safety rules influence tool selection
Tool selection should reflect recognized tile industry guidance and jobsite safety obligations. At publication in September 2026, the Tile Council of North America listed the 2026 TCNA Handbook for Ceramic, Glass, and Stone Tile Installation and the July 2026 edition of ANSI A108-A118-A136.1 among its current publications. Those documents are widely used in North American tile specification and installation practice.
For mortar coverage, industry education from the Ceramic Tile Education Foundation explains the ANSI A108 benchmark as 80% mortar coverage for ceramic and porcelain tile in dry areas and 95% in wet and exterior areas. Natural stone is commonly treated as requiring 95% coverage. This does not mean installers can rely on appearance alone; the practical check is to lift a tile periodically and inspect actual contact.
| Job requirement | Tool implication | Why it matters |
|---|---|---|
| Dry interior ceramic or porcelain tile | Choose a trowel that can achieve the required contact after embedding | Insufficient mortar contact can contribute to hollow spots, cracking, and bond failure |
| Wet areas, showers, exterior areas, and stone | Use trowel size, back-buttering where needed, and embedding technique to pursue higher coverage | Moisture, movement, and load exposure make voids more risky |
| Large-format tile | Use flatness checks, suitable mortar, suction cups, leveling aids, and occasional lift checks | Large tile magnifies substrate variation and makes full bedding harder to achieve |
| Cutting silica-containing materials | Use wet cutting, integrated water delivery, vacuum dust collection, and appropriate respiratory protection when required | OSHA identifies respirable crystalline silica as a serious construction health hazard |
Safety rules also affect tool buying. OSHA’s construction silica standard, 29 CFR 1926.1153, addresses dust generated when workers cut, grind, drill, or crush materials containing crystalline silica. OSHA’s Table 1 approach identifies control methods such as water delivery and vacuum dust collection for common construction tasks. In practical terms, dust-control compatibility should be treated as a purchasing factor, not an optional add-on.
Cutting tools should match tile type and site conditions
Cutting is where many projects lose time and material. A low-cost cutter can be efficient on soft ceramic wall tile, but it may cause waste on dense porcelain. A powerful wet saw may be unnecessary for simple straight cuts, yet valuable for thick tile, repeated production cuts, and cleaner edges.
| Tool | Best fit | Limitations |
|---|---|---|
| Manual score-and-snap cutter | Straight cuts on many ceramic and porcelain tiles | Less suitable for curves, notches, very textured surfaces, or some hard porcelain |
| Wet table saw | Accurate straight cuts, miters, thicker tile, and cleaner edges | Requires water management, setup space, and blade maintenance |
| Rail saw | Large-format tile and long repeat cuts | Higher cost and more transport planning |
| Angle grinder with diamond blade | Notches, curves, outlet cuts, and trimming | Higher dust and kickback risk if poorly controlled |
| Diamond hole saw | Pipe penetrations, valves, and fixtures | Requires cooling, guide control, and patience to avoid cracking |
For indoor remodeling, dust and water control may be as important as cut quality. Wet saws reduce airborne dust but introduce slurry and water handling. Dry grinding is convenient, but it can create respirable dust quickly. A professional kit should include containment, cleanup, and personal protective equipment planning, not only the cutting machine.
Trowels, mixers, and setting tools determine bond quality
Many buyers focus first on saws, but setting tools have just as much influence on the finished floor or wall. The notched trowel must leave enough mortar to meet coverage requirements after the tile is moved, pressed, and embedded. A 1/4 inch square-notch trowel may work for smaller tile on a flat substrate, while larger formats often require deeper notches, a different notch profile, back-buttering, or a large-and-heavy-tile mortar.
There is no universal trowel size for every installation. Tile back texture, substrate flatness, mortar type, tile size, and installer technique all change coverage. The most reliable habit is to set a tile, move it perpendicular to the mortar ridges, lift it, and verify that the ridges have collapsed into real contact. If straight-line voids remain, the issue may be notch size, mortar consistency, movement distance, open time, or surface flatness. See also: Buying Guides.
Mixing tools also deserve attention. A low-speed drill with the correct paddle helps produce consistent mortar without adding excess air. Buckets should be clean, water should be measured, and mortar should not be retempered beyond manufacturer directions. For crews, standardizing paddles, buckets, timing, and cleaning routines can improve consistency across multiple installers.
Small accessories can prevent visible defects
Small accessories are often inexpensive compared with the cost of callbacks. Spacers maintain planned joint width. Wedges fine-tune vertical and horizontal alignment. Leveling clips help reduce tile-to-tile height differences, especially when working with long planks or large rectangular formats. Suction cups improve control when moving large tile, while beating blocks and rubber mallets help embed tile without concentrating force on a corner.
Edge finishing tools also matter. Rubbing stones, diamond hand pads, polishing pads, and profiles help soften sharp cuts and produce cleaner exposed edges. For bathrooms and kitchens, hole saws and drill guides reduce the chance of cracked tile around plumbing penetrations. For mosaics, mesh support boards and small floats can make placement more controlled.
Cleanup accessories should be treated as part of the installation system. Clean sponges, wash buckets, joint brushes, microfiber cloths, and plastic scrapers allow crews to remove residue before it hardens. This is particularly important with textured porcelain, matte finishes, mosaics, and contrasting grout colors.
Procurement checklist for contractors and distributors
A good tile tool assortment should not be built around a single project only. Contractors and distributors can reduce confusion by grouping tools according to tile size, material, and job type.
- For basic ceramic wall tile: manual cutter, small notched trowels, spacers, grout float, sponge kit, nippers, and layout tools.
- For porcelain floor tile: quality manual cutter or wet saw, porcelain-rated diamond blade, medium and large notch trowels, leveling clips, suction cups, and dust-control equipment.
- For showers and wet areas: wet cutting setup, waterproofing-related hand tools, higher-coverage trowel options, margin trowels, joint-cleaning tools, and careful cleanup supplies.
- For large-format tile: rail saw, large suction cups or carrying frames, flatness measurement tools, large-and-heavy-tile mortar tools, leveling systems, and periodic coverage-check routines.
- For repair and remodeling: oscillating tool blades, scrapers, grinders with dust shrouds, HEPA vacuum compatibility, replacement blades, and compact layout tools.
Inventory planning should also include consumables. Blades, hole saws, spacers, clips, wedges, drill bits, sponges, buckets, and polishing pads wear out or disappear quickly on jobsites. Stocking only the main machine without compatible consumables creates delays and encourages poor substitutions.
Common buying mistakes to avoid
The first mistake is buying by tile size alone. Format matters, but hardness, thickness, surface texture, and edge finish also affect tool choice. Two tiles with the same dimensions can cut very differently.
The second mistake is treating leveling clips as a cure for poor preparation. Clips can align adjacent tiles, but they cannot flatten a substrate, correct excessive mortar variation, or create coverage where the tile has not been properly embedded.
The third mistake is separating productivity from safety. A dry cutting method may look fast during the cut, but dust cleanup, containment, exposure control, and compliance risk can erase that advantage. Where silica-containing materials are cut, dust control should be planned before the tool is used.
The fourth mistake is ignoring replacement parts. A wet saw with a worn blade, a clogged water feed, or a damaged fence will not deliver the accuracy buyers expect. Tool selection should include maintenance access, blade availability, and cleanup requirements.
Frequently asked questions
What are the most essential tile tools for a starter kit?
A starter kit usually includes measuring and layout tools, a manual tile cutter, tile nippers, buckets, a low-speed mixer or mixing paddle, margin trowel, notched trowels, spacers, grout float, sponge kit, and basic safety equipment. For porcelain, showers, or larger jobs, add a wet saw, porcelain-rated blades, leveling clips, suction cups, and dust-control tools.
Is a wet saw always better than a manual tile cutter?
No. A manual cutter can be faster and cleaner for straight cuts on suitable tile because it needs no water setup. A wet saw is better for thick tile, hard porcelain, miters, repeat accuracy, and cuts where edge quality is critical. Many professional kits include both.
How do I choose the right notched trowel?
Choose the trowel that produces the required mortar coverage after the tile is embedded, not simply the size printed on a chart. Tile size, back texture, substrate flatness, mortar type, and movement technique all matter. The practical test is to lift a tile during installation and inspect the contact pattern.
Do leveling systems replace good installation technique?
No. Leveling systems can help reduce lippage, but they do not replace flat substrate preparation, correct mortar selection, proper troweling, movement to collapse ridges, or coverage checks.
Why is dust control part of tile tool selection?
Cutting, grinding, or drilling tile and related materials can generate respirable dust, including silica-containing dust depending on the material. OSHA guidance for construction emphasizes controls such as water delivery and vacuum dust collection. Tool buyers should consider dust shrouds, HEPA vacuum compatibility, wet cutting, containment, and respiratory protection requirements before work begins.