Kayak maintenance tips for cleaning, storage, hardware, and seasonal care

A practical kayak care routine
Kayak maintenance does not need to be complicated, but it does need to be consistent. The core routine is straightforward: rinse the boat after use, remove sand and salt, let it dry, inspect the hull and fittings, and store it out of direct sun with the weight properly supported. Manufacturer care guidance from Perception/Confluence Outdoor, Old Town, Mirage Sea Kayaks, NRS, and Sea Eagle follows the same general priorities. Many avoidable kayak problems start during cleaning, transport, and storage, not during normal paddling.
This guide focuses on practical care for recreational, fishing, touring, sit-on-top, sit-inside, composite, and inflatable kayaks. It also covers hardware and fitting checks for paddlers using stainless fasteners, rudder parts, deck lines, bungees, seats, pedals, tracks, and storage accessories. You can also explore more in Maintenance Tips.
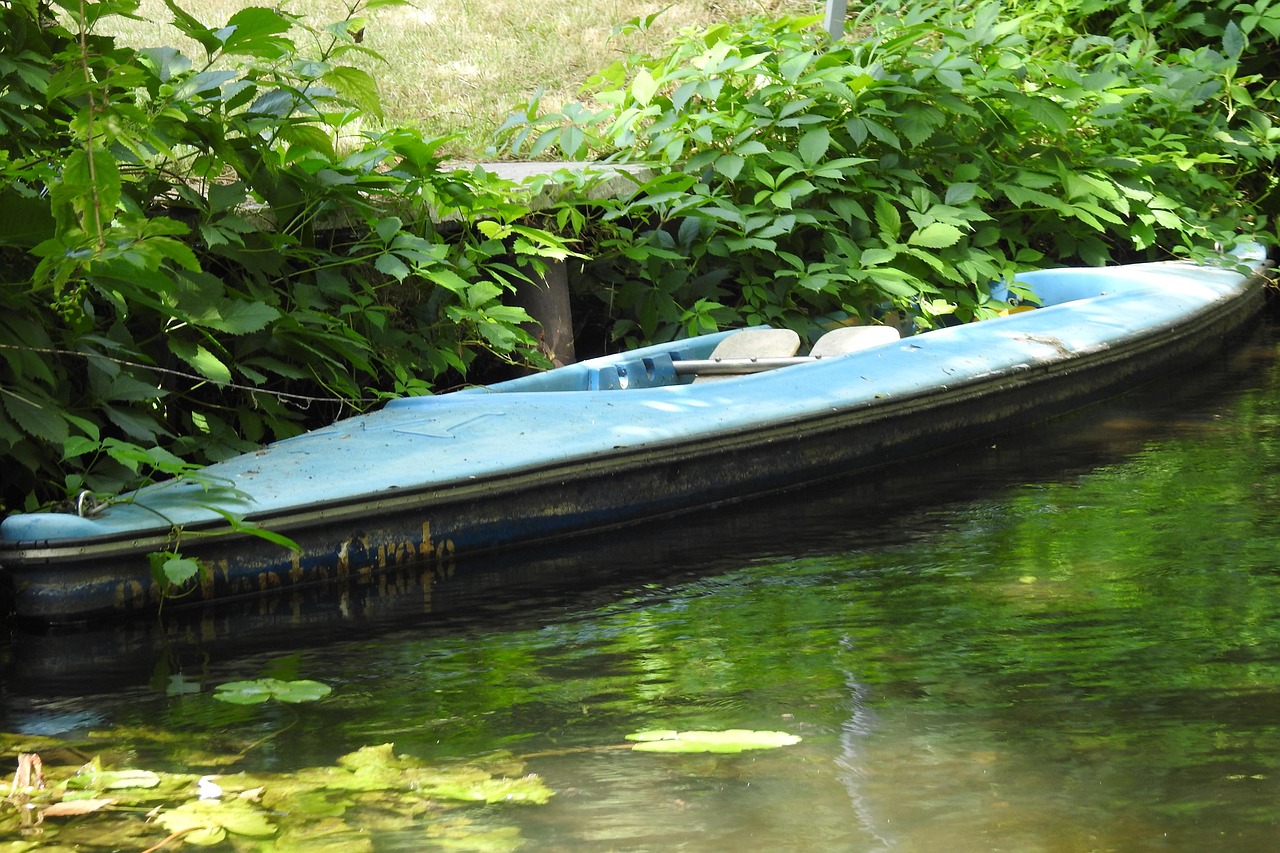
For more equipment care articles, see our maintenance tips section.
Rinse and clean the kayak after every trip
A freshwater rinse is the lowest-effort maintenance step with the highest day-to-day value. It removes mud, grit, algae, sand, and mineral residue before those materials dry onto the hull or settle around moving parts. For a quick post-trip routine, hose down the deck, hull, cockpit, seat area, foot braces, handles, scupper holes, hatches, and gear tracks.
If the kayak has a rudder, skeg, pedal drive, or steering system, rinse those parts more carefully. Grit can hide around pivots, cables, rails, hinges, and locking mechanisms, where it may cause stiffness or premature wear.
Use mild soap and water when the hull is oily, stained, or coated with river scum. Avoid strong solvents, harsh degreasers, abrasive rubbing compounds, and aggressive sanding unless the kayak manufacturer specifically recommends that method for the material. Polyethylene kayaks are durable, but they can still be marked, deformed, or chemically affected by the wrong treatment. Composite kayaks may have gelcoat or laminate surfaces that require different repair methods from plastic hulls.
After cleaning, drain the kayak completely. Tip the bow and stern so water leaves the cockpit, hatch compartments, scuppers, and molded recesses. Wipe areas where water collects under seats, in pedal wells, or around hatch rims. A kayak stored wet for long periods is more likely to develop odors, mildew, seal problems, and corrosion around fittings.
Saltwater maintenance needs extra attention
Saltwater use raises the maintenance requirement because salt crystals and sand can accelerate wear on moving parts and metal fittings. Even high-quality stainless steel can show corrosion if it is repeatedly exposed to salt and stored without rinsing. This is especially relevant to rudder pins, steering cables, shackles, seat hardware, mounting tracks, pedal hinges, rod-holder fasteners, and accessory bolts.
After paddling in saltwater or brackish water, rinse the kayak as soon as practical. Pay particular attention to parts that move or trap residue:
- Rudder blades, pivots, cables, deployment lines, and foot controls
- Pedal-drive shafts, chains, fins, propellers, hinges, and locking parts
- Metal fasteners on seats, handles, tracks, motor mounts, and deck hardware
- Hatch covers, rubber seals, and hatch rims
- Deck lines, bungees, toggles, anchor trolleys, and fishing accessories
- Drain plugs, scupper inserts, and molded recesses that can hold grit
Do not treat stainless hardware as maintenance-free. Stainless steel resists corrosion, but it performs best when the surface is kept clean and oxygen can reach it. Salt packed under washers, around bolts, or inside cable housings can create small trouble spots. If you see orange staining, stiff movement, pitting, frayed cable strands, or seized hardware, clean the area and replace compromised parts before the next demanding trip.
Inspect the hull, fittings, and safety gear
A five-minute inspection after washing helps catch small issues while they are still manageable. Start with the hull. On polyethylene kayaks, look for deep gouges, flat spots, oil-canning, worn keel areas, and deformation caused by pressure during storage or transport. Superficial scratches are common on many plastic kayaks, but cuts that expose thin material or create leaks need repair guidance from the manufacturer or a qualified shop.
On composite kayaks, inspect both the outside and the corresponding inside surface after a hard impact. Fine white lines, cracks, soft spots, or visible changes in the laminate may indicate structural damage rather than cosmetic wear. Gelcoat chips can often be repaired, but damage that affects the laminate should be assessed carefully before paddling offshore, in cold water, or far from an easy landing.
Next, check the outfitting. Tighten loose screws only to the manufacturer’s recommended feel; overtightening can crush plastic, strip inserts, or crack fittings. Replace cracked bungees, frayed perimeter lines, worn toggle ropes, damaged hatch covers, and loose seat straps. These parts are consumables, and waiting until they fail on the water can turn a small maintenance job into a safety problem.
Make safety equipment part of the same inspection habit. U.S. Coast Guard boating-safety guidance generally requires a Coast Guard-approved wearable life jacket in serviceable condition and the correct size for each person on board, while state and local rules may add other requirements. Check the PFD, whistle or sound signal, bilge pump or sponge, paddle float, tow line, navigation light, first-aid kit, and communication device before the season and before longer trips.
Protect the kayak from UV, heat, and pressure
Sunlight is a major long-term threat to kayak materials. UV exposure can fade finishes, weaken plastics, age rubber parts, reduce bungee elasticity, and degrade fabrics or coatings. Heat can also soften polyethylene enough that pressure from racks, straps, or uneven supports leaves temporary or permanent deformation.
If the kayak is stored outdoors, shade is better than direct sun. A suspended cover can help, but do not wrap a tarp tightly against the hull for long-term storage. A tarp in direct contact can trap heat and moisture, creating an oven-like environment on hot days and encouraging mildew in damp weather. Leave airflow around the boat. See also: Buying Guides.
UV protectant sprays are commonly recommended by kayak and inflatable manufacturers, but they should be used according to label directions and material compatibility. Do not apply a product to foot pads, standing areas, or seat contact surfaces if it leaves a slippery film. For inflatables, use only products that are appropriate for PVC, urethane, Hypalon-style fabrics, or the specific fabric used by the boat maker.
Pressure damage is another common storage issue. Avoid hanging a kayak by grab loops, handles, or narrow ropes. Handles are useful for carrying, not for supporting the entire boat over months. Use wide straps, padded cradles, or broad supports that spread the load along the hull. Long-term tight straps can create dents, flat spots, or hull distortion.
Store hard-shell and inflatable kayaks correctly
For most hard-shell kayaks, the best storage location is indoors, dry, shaded, and well ventilated. A garage, shed, rack, or ceiling suspension system can work if the kayak is supported correctly. For many hard-shell boats, supports placed roughly one-third of the kayak’s length in from each end are a practical starting point, but always follow the specific owner’s manual when available.
Deck-side-down, hull-up, side storage, and strap suspension can all be acceptable depending on the kayak shape and support system. The key is even weight distribution with no sharp pressure points. Do not leave a kayak flat on hot pavement, bare ground, or narrow bars for long periods. If outdoor storage is unavoidable, keep water from pooling in the cockpit or hatches, use a breathable cover or suspended tarp, and secure the kayak so wind cannot flip or drag it.
Inflatable kayaks need a different routine. They should be clean and dry before long-term storage. Moisture trapped in chambers, folds, floors, or fabric sleeves can lead to mildew and unpleasant odors. If the boat is transported inflated, reduce pressure when heat, direct sun, or altitude change could increase internal pressure. Before storage, check valve caps, remove grit from valve areas, and avoid tight folds around valves, skegs, fin boxes, or rigid fittings.
Many inflatable manufacturers recommend storing the boat loosely rolled or folded in a clean, dry bag or bin, away from rodents and sharp objects. If space allows, storing an inflatable partly open in a cool, dry area can reduce crease stress. If space is limited, pack it loosely rather than forcing a tight roll.
Maintenance schedule by use case
| When to check | Maintenance task | Why it matters |
|---|---|---|
| After every trip | Rinse hull, cockpit, seat area, hatches, scuppers, and accessories with fresh water. | Removes grit before it dries into moving parts or scratches surfaces. |
| After saltwater use | Rinse rudder, cables, pedal drive, stainless hardware, tracks, and hatch seals carefully. | Reduces salt buildup, corrosion risk, and stiffness in mechanical parts. |
| Monthly in season | Inspect bungees, deck lines, handles, hatch covers, drain plugs, bolts, and storage racks. | Finds consumable parts before they fail during carrying, rescue, or transport. |
| Before long trips | Check hull condition, steering, safety gear, PFD, sound signal, pump, lights, and communication gear. | Connects maintenance with paddling safety and legal readiness. |
| Before off-season storage | Wash, dry, remove loose accessories, support the hull evenly, and protect from sun and moisture. | Prevents deformation, mildew, UV aging, and hardware deterioration. |
Common maintenance mistakes to avoid
- Dragging the kayak over rough ground. Short drags on sand may seem harmless, but repeated dragging over gravel, concrete, shells, or ramps wears the keel and can expose thin areas.
- Leaving the kayak strapped tightly on a vehicle. Transport straps are for travel, not storage. Heat and strap pressure can deform hulls, especially polyethylene boats.
- Ignoring small hardware stains. Rust-colored marks around screws, cables, or fittings should be cleaned and inspected. Replace hardware if pitting, cracking, or thread damage appears.
- Storing wet gear inside the hull. Remove PFDs, spray skirts, pumps, dry bags, electronics, and fabric seats when storing the kayak for more than a short period.
- Using the wrong repair material. Standard glue or epoxy may not bond properly to some polyethylene hulls. Inflatable fabrics and composite laminates also require material-specific repair systems.
- Covering without ventilation. A tight cover can trap heat and moisture. Shade is useful, but airflow is part of storage care.
Frequently asked questions
How often should I wash my kayak?
Rinse it after every outing if practical, especially after saltwater, muddy water, sandy launches, or trips with heavy plant material. A deeper wash with mild soap is usually enough a few times per season or before long-term storage.
Can I pressure wash a kayak?
Use caution. A gentle rinse is safer for most kayaks. High-pressure water can force its way into seams, hatches, decals, fabric layers, valves, or fittings. If you use pressure, keep it low, stay back from the surface, and avoid seals and mechanical parts.
Should I wax or polish a kayak?
It depends on the material. Composite kayaks may benefit from suitable marine polish or gelcoat care. Polyethylene kayaks generally need rinsing, cleaning, UV protection when appropriate, and proper storage more than polishing. Always check the owner’s manual before using compounds or waxes.
Is outdoor kayak storage acceptable?
Outdoor storage can work when indoor storage is not possible, but it needs shade, airflow, protection from standing water, security from wind, and even support. Avoid direct sun, tight tarps, narrow pressure points, and long-term contact with the ground.
What kayak hardware should I replace first?
Replace parts that affect control, carrying, sealing, or rescue first: frayed steering cables, cracked rudder parts, worn deck lines, weak bungees, damaged hatch covers, loose seat mounts, and corroded fasteners. Cosmetic scratches can usually wait unless they are deep enough to affect the hull.
Final checklist
The best maintenance plan is consistent rather than complicated. Rinse after use, dry before storage, inspect fittings, replace worn consumable parts, and support the hull correctly. Pay extra attention after saltwater trips and before off-season storage. With those habits, a kayak is more likely to stay safe, clean, and ready for the next launch.