Hook and loop sandpaper guide for grit, backing and dust control
What hook and loop sandpaper is best used for
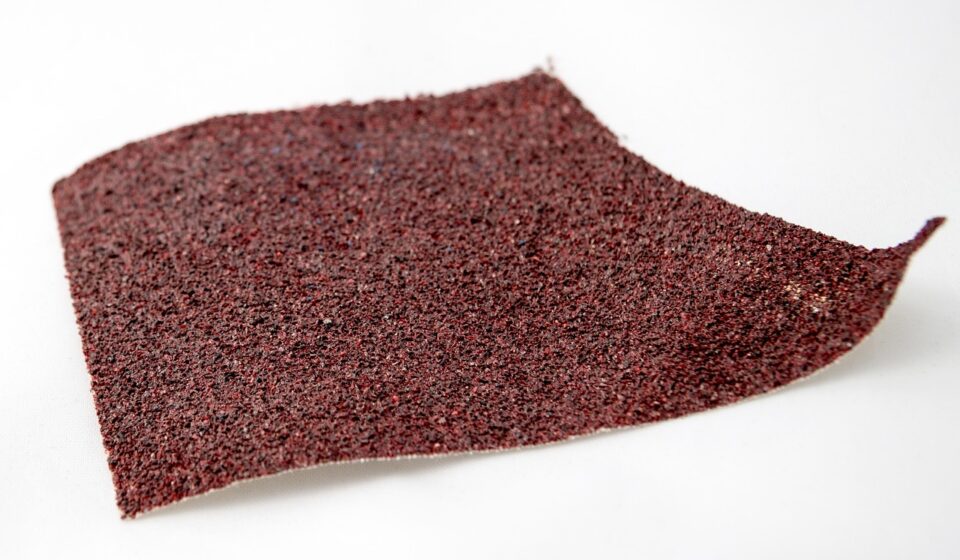
Hook and loop sandpaper is a reusable abrasive format made for quick attachment to a compatible sanding pad. The loop backing on the abrasive grips the hook surface on the pad, so operators can change grits without peeling off adhesive or resetting the tool. It is commonly used for wood finishing, paint preparation, filler leveling, primer sanding and general workshop sanding.
The right choice is not simply the lowest-priced disc in the correct diameter. Buyers need to match the abrasive grain, grit grade, backing, hole pattern and pad condition to the material and the required finish. When those details line up, hook and loop sandpaper can make grit changes faster, reduce wasted discs and help the dust extraction system work as intended.
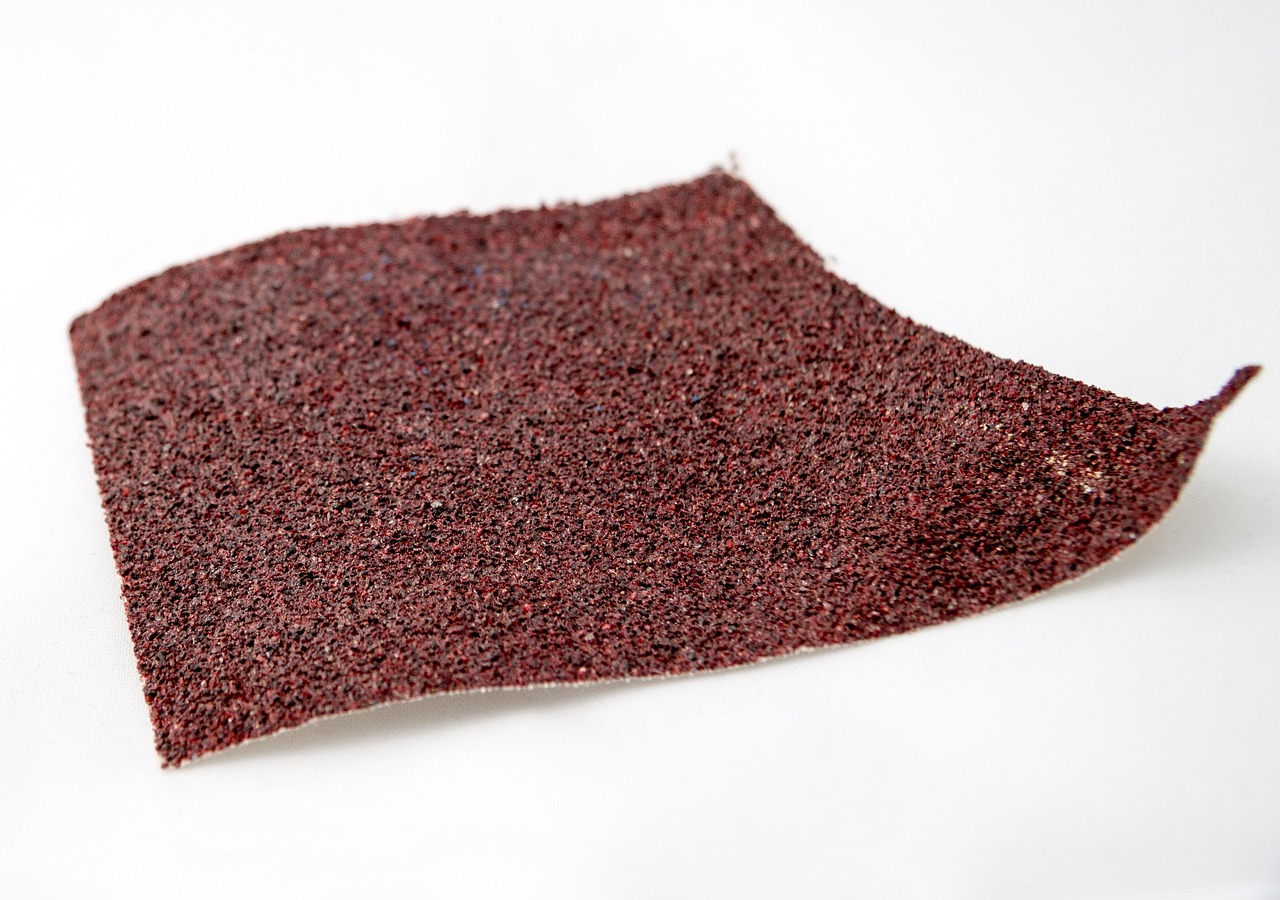
This guide focuses on practical selection rather than brand claims. It is especially useful for readers comparing sanding discs for random orbital sanders, palm sanders and detail sanding tools. For related tool and accessory topics, visit the Tools and Accessories section.
How the hook and loop attachment system works
The hook and loop system is mechanical, not adhesive-based. The sanding disc or sheet has a fuzzy loop backing, while the backing pad has small hooks. Pressing them together creates a grip that holds the abrasive during normal sanding. Pulling the abrasive away releases it for a grit change, surface check or disc replacement.
This differs from pressure-sensitive adhesive, often called PSA. PSA discs stick to a smooth pad and can suit some flat sanding operations, but they are less convenient when a job requires frequent grit changes. Hook and loop sandpaper is often preferred in shops where operators move from coarse leveling to intermediate sanding and then to fine finishing on the same tool.
The convenience of the system depends heavily on pad condition. A worn hook pad may let the abrasive slip, lift at the edge or detach before the grit is fully used. Excessive heat, heavy pressure, clogged dust ports and forcing the tool at an angle can all shorten pad life. If fresh discs no longer stay attached, the backing pad may be the problem rather than the sandpaper.
Match diameter, pad type and hole pattern before choosing grit
Many sanding problems begin before the abrasive touches the workpiece. A disc must match the pad diameter, attachment type and dust extraction pattern. A 5-inch disc belongs on a 5-inch pad unless the tool manufacturer specifically allows another setup. Oversized discs can catch at the edge, while undersized discs leave the pad exposed and may damage the workpiece.
Hole pattern matters just as much. Vacuum holes in the disc are designed to align with the holes in the backing pad and the tool’s dust path. Common patterns include no-hole, 5-hole, 6-hole, 8-hole, 9-hole, multi-hole and mesh styles. If the abrasive attaches but the holes do not line up, dust extraction can be reduced because the ports are partly blocked. That can increase loading, heat and surface contamination.
Mesh abrasives and multi-hole discs can reduce the need to match one exact hole pattern, but they still need to be compatible with the pad and tool. In purchasing terms, the minimum specification should include disc diameter, attachment style, hole pattern, abrasive grain, grit range and intended material.
| Selection point | What to check | Why it matters |
|---|---|---|
| Disc or sheet size | Match the sanding pad size and shape | Prevents exposed pad edges, poor control and uneven wear |
| Attachment type | Confirm hook and loop rather than PSA or clamp-on | Ensures the abrasive can grip the tool correctly |
| Hole pattern | Match holes to the pad or use a compatible multi-hole option | Helps dust move away from the sanding surface |
| Pad condition | Inspect hooks, pad flatness and edge wear | A worn pad can make good discs appear defective |
| Backing flexibility | Choose paper, film, cloth or mesh according to the task | Affects durability, edge resistance and surface conformity |
Choosing grit without creating rework
Grit selection should follow the job sequence. Coarse grits remove material quickly but leave deeper scratches. Fine grits refine the scratch pattern but remove less material. Skipping too many steps may leave scratches that remain visible after staining, painting or clear coating.
For heavy leveling, paint removal or shaping, coarse grits such as 40, 60 or 80 may be appropriate. For general wood sanding and surface preparation, grits in the 100 to 180 range are common. For finish preparation, primer sanding and smoothing between coats, finer grits such as 220, 320 or 400 may be used depending on the coating system and desired result. These ranges are starting points, not universal rules.
One detail buyers often overlook is the grit grading system. In many markets, a grit number with a “P” prefix follows a FEPA or ISO-style coated abrasive grading convention. A P120 product and a non-P 120 product may not always have the same particle size distribution. For routine sanding, the difference may be manageable. In finishing, coating and production settings, it is usually better to keep the grading system consistent across the full sanding sequence.
A practical rule is to test the full sequence on scrap material or a hidden area before sanding the visible surface. If the finish shows swirl marks, pigtails or coarse scratches, the solution is often a better grit progression, a cleaner abrasive, lighter pressure or improved dust control rather than simply switching to a finer disc at the end.
Abrasive grain and backing material affect performance
Hook and loop sandpaper is a format, not a single abrasive type. Two discs can both be hook and loop, yet perform very differently because of their grain, coating, backing and resin system.
Aluminum oxide
Aluminum oxide is widely used for wood, paint, primer, filler and general-purpose sanding. It is a practical option when the job involves common materials and the buyer wants a balance of cost and performance. It is also available across broad grit ranges.
Silicon carbide
Silicon carbide is sharp and commonly used where a fine, clean scratch pattern is needed. It may be selected for certain finishing, coating, plastic, composite or wet-sanding applications, depending on the product construction. Users should confirm that the backing and adhesive system are suitable for wet use before exposing the abrasive to water.
Zirconia alumina and ceramic grain
Zirconia and ceramic abrasive grains are often associated with more aggressive cutting and longer life in demanding applications, especially on metals or tough coatings when the disc construction supports the task. They are not automatically better for every job. On delicate wood finishing, an aggressive premium grain may create scratches faster than the operator can control.
Paper, film, cloth and mesh backing
Paper backing is common and economical. Film backing can provide a consistent surface and good tear resistance in fine finishing. Cloth backing is more durable and flexible for some demanding operations. Mesh backing is designed to let dust pass through a broad open structure, which can help extraction when used with a compatible pad and vacuum system. See also: Buying Guides.
The backing should match the sanding pressure and surface shape. A stiff disc may stay flat on panels but perform poorly on contours. A more flexible backing may conform better but wear faster under heavy pressure. For procurement, it is useful to specify both the abrasive grain and backing type instead of ordering by grit alone.
Dust control is part of abrasive selection
Sanding creates fine dust from both the abrasive process and the material being sanded. Public workplace safety guidance from organizations such as OSHA and NIOSH emphasizes controlling dust exposure, especially where wood dust, coatings, fillers, fiberglass, metals or silica-containing materials may be present. The exact control requirements depend on the material, process, workplace and local regulations.
For hook and loop sandpaper, dust control starts with the disc and pad combination. A no-hole disc on a vacuum pad blocks the extraction path. A holed disc with the wrong pattern may attach normally but still restrict airflow. A full dust bag, clogged hose or weak vacuum can also cause loading even when the abrasive itself is correctly selected.
Better dust extraction can bring several practical benefits. It may keep the abrasive cutting longer, reduce heat at the work surface, make scratch inspection easier and reduce dust contamination before coating. However, dust extraction is not a substitute for appropriate respiratory protection, ventilation, housekeeping and material-specific safety controls.
- Use discs with holes only when the tool and pad support dust extraction.
- Check that holes align before starting production sanding.
- Empty dust bags and collection containers before airflow drops.
- Avoid excessive pressure, which can reduce pad movement and increase heat.
- Identify hazardous coatings or dust-producing materials before sanding them.
Common buying mistakes and how to avoid them
The most common mistake is treating hook and loop sandpaper as a universal consumable. A disc that works well on a 5-inch random orbital sander in a furniture shop may be the wrong choice for primer sanding, metal preparation or aggressive stock removal.
Another mistake is focusing only on unit price. A cheaper disc is not cheaper if it clogs quickly, cuts slowly or creates scratches that require another sanding pass. For professional use, a better measure is cost per acceptable finished part or cost per completed job. That calculation includes abrasive life, labor time, defect rate and surface quality.
Users also sometimes blame the abrasive when the backing pad is worn. If multiple new discs from different packs fail to hold, inspect the pad. The hooks may be flattened, melted, contaminated with dust or damaged at the edge. Replacing the pad can restore holding power and reduce disc waste.
A fourth mistake is mixing grit systems without noticing. If a workflow uses P-grade abrasives for most steps but substitutes a non-P grade at one stage, the scratch pattern may not behave as expected. This matters most in finishing operations where consistency is more important than fast stock removal.
| Problem | Likely cause | Practical fix |
|---|---|---|
| Disc flies off or slips | Worn hook pad, dust contamination or excess heat | Clean or replace the pad and reduce pressure |
| Dust builds up quickly | Wrong hole pattern, clogged vacuum path or unsuitable coating | Match holes, clean extraction path or choose anti-loading abrasive |
| Visible swirl marks | Too coarse a grit, skipping steps or pressing too hard | Use a controlled grit progression and let the sander move freely |
| Short disc life | Wrong grain for the material or sanding loaded coatings | Choose a grain and coating suited to the substrate |
| Uneven finish | Pad damage, tilted tool or inconsistent sanding sequence | Inspect the pad and test the full sequence before finishing |
Specification checklist for workshops and buyers
A clear specification reduces ordering errors and makes supplier comparisons easier. Instead of requesting “120 grit hook and loop discs,” a more complete description would include size, hole pattern, grit system, abrasive grain and backing. For example, a workshop might specify a 5-inch hook and loop disc, 8-hole pattern, P120 aluminum oxide, paper or film backing, for wood and primer preparation. The right details will vary by application, but the structure of the specification remains useful.
- Identify the tool type, pad diameter and pad hole pattern.
- Confirm whether the task is removal, leveling, blending or finishing.
- Select a grit sequence rather than a single grit in isolation.
- Choose the abrasive grain for the material, not only the price.
- Select a backing that matches pressure, edge wear and surface shape.
- Confirm dust extraction compatibility before buying in bulk.
- Test on scrap or a non-visible area before applying the sequence to finished work.
For high-volume use, keep notes on disc life, clogging, finish defects and operator feedback. Over time, those notes are more useful than generic grit charts because they reflect the actual tools, materials and coatings used in the shop.
Frequently asked questions
Is hook and loop sandpaper the same as Velcro sandpaper?
Velcro is a well-known brand name often used informally for hook and loop fastening. In abrasive specifications, “hook and loop” is the more general term. The key point is compatibility between the loop-backed abrasive and the hook-style backing pad.
Can hook and loop sandpaper be reused?
Yes. It can often be removed and reattached while the abrasive still has usable cutting life. Reuse depends on backing condition, pad condition, heat, dust contamination and how aggressively the disc was used.
Why do some sanding discs have holes?
The holes allow dust to move through the disc and pad into the sander’s dust collection path. They only help when the hole pattern aligns with the backing pad and the dust extraction system is working properly.
Should I choose mesh or standard paper-backed discs?
Mesh can improve dust passage when used with a compatible setup, especially on dust-heavy sanding tasks. Standard paper or film discs may still be suitable for general sanding, lower-cost work or tools without effective extraction. The best choice depends on the material, tool and finish requirement.
What grit should I start with?
Start with the least aggressive grit that will remove the defect or prepare the surface efficiently. If heavy leveling is needed, coarse grits may be necessary. For finish preparation, begin finer and test the full sequence before sanding the visible workpiece.