DIY home maintenance tips that keep small hardware problems from becoming costly repairs
Start with a simple inspection mindset
Effective DIY home maintenance is not about handling every repair alone. It is about spotting small problems early, using suitable basic hardware materials, and recognizing when a job belongs to a licensed professional. A loose hinge, cracked caulk line, clogged filter, missing screw, or sticky lock may look minor. Left alone, each one can lead to wasted energy, water damage, safety risk, or premature wear.
A practical routine is straightforward: inspect seasonally, tighten what has loosened, seal what has opened, clean what collects dust or lint, and document changes over time. This guide focuses on tasks many homeowners can handle with ordinary tools and materials, including screws, anchors, washers, caulk, weatherstripping, lubricant, filters, batteries, gloves, and safety glasses. For more household repair ideas in the same category, visit the Maintenance Tips section.
Build a basic maintenance kit before problems appear
Home maintenance becomes much easier when small supplies are already available. Many simple repairs are delayed not because the work is difficult, but because there is no matching screw, sealant, tape, filter, or driver bit on hand. A compact kit reduces guesswork and keeps quick fixes from turning into weekend projects.
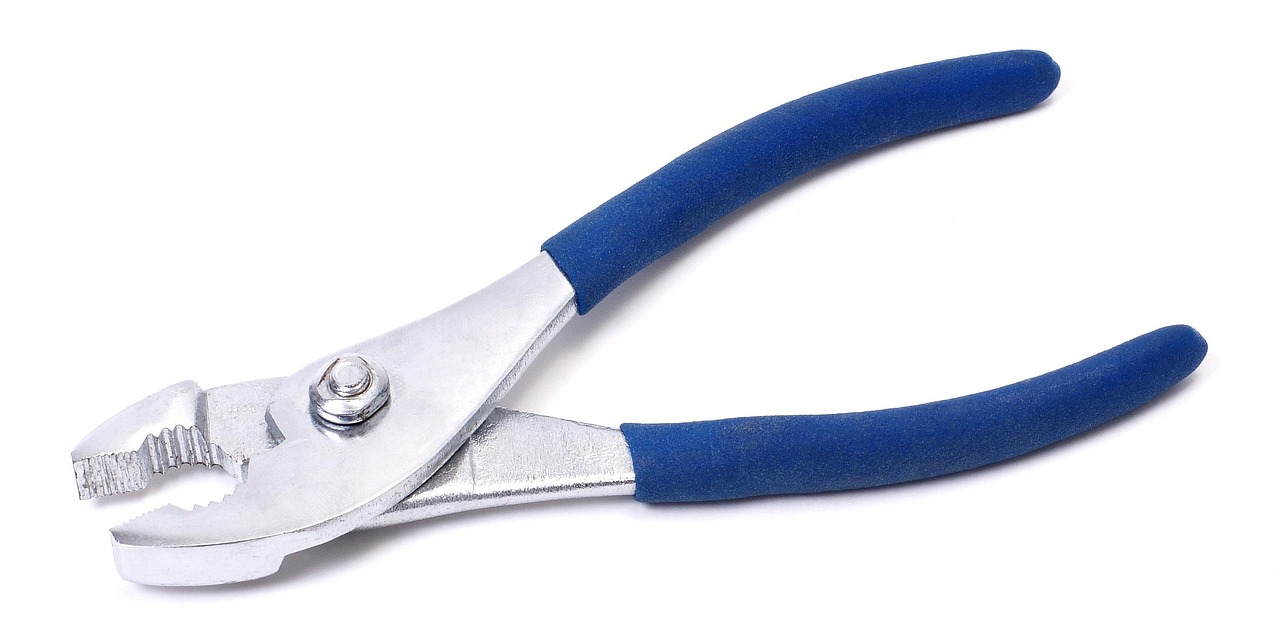
Start with measuring and fastening tools: a tape measure, utility knife, level, adjustable wrench, pliers, screwdrivers, hex keys, a cordless drill, drill bits, and a small selection of screws, wall anchors, washers, nuts, and replacement cabinet hinge screws. Keep exterior-grade fasteners separate from indoor fasteners. Moisture exposure can quickly damage the wrong metal finish.
Add sealing and surface repair materials. Acrylic latex caulk is useful for many dry interior gaps around trim. Silicone sealant is commonly used where water exposure is frequent, such as tubs, showers, sinks, and some exterior joints. Painter’s tape, a caulk tool, sandpaper, wood filler, patching compound, and a putty knife cover many small cosmetic and air-sealing repairs. Always check the label for surface compatibility, cure time, paintability, and ventilation guidance.
Finish the kit with maintenance consumables: HVAC filters in the correct size, flashlight batteries, smoke alarm batteries if your alarms use replaceable batteries, appliance bulbs where applicable, disposable gloves, safety glasses, microfiber cloths, a cleaning brush, and a multipurpose household lubricant. Store the kit in a dry location and label unusual parts so they are not thrown away before the next repair.
Use a seasonal checklist instead of waiting for visible damage
Seasonal checks work because building materials expand, contract, loosen, dry out, or collect debris over time. The schedule below is a practical framework, not a rigid rule. Climate, home age, product instructions, and local conditions should guide the final timing.
| Season or timing | DIY maintenance task | Materials often needed | Why it matters |
|---|---|---|---|
| Monthly | Test smoke and carbon monoxide alarms, check under sinks, and inspect frequently used doors | Batteries, flashlight, screwdriver, towels | Early detection helps reduce safety risks and catches leaks before cabinets or flooring are damaged |
| Every 1 to 3 months | Check HVAC filters and replace if dirty or according to the system instructions | Correct filter size, marker for dating the filter | Dirty filters can restrict airflow and make equipment work harder |
| Spring | Inspect exterior caulk, door sweeps, window screens, hose bibs, and deck fasteners | Exterior sealant, screen patch, screws, washers | Winter movement and moisture can open gaps or loosen hardware |
| Summer | Clean dryer lint areas, lubricate sticky hinges and locks, and check bathroom exhaust fans | Vacuum attachment, brush, lubricant, replacement screws | Heat and frequent use can expose airflow, friction, and ventilation problems |
| Fall | Weatherstrip doors, inspect thresholds, clear accessible gutters, and check attic or basement drafts | Weatherstripping, door sweep, gloves, ladder safety equipment | Air sealing and water management are easier before cold and stormy weather |
| Winter | Monitor condensation, cabinet leaks, loose railings, and drafty openings | Towels, caulk, foam tape, screwdriver | Cold weather makes air leaks, moisture, and weakened hardware easier to notice |
A checklist also creates a maintenance history. Write the date on filters, note where caulk was replaced, and take photos of cracks, stains, or exterior gaps. If the same problem returns quickly, that record helps show whether the issue is normal wear or a sign of a deeper defect.
Tighten, replace, and match hardware correctly
Loose hardware is one of the simplest areas for DIY maintenance, but it still requires judgment. A door hinge screw that spins without tightening may need a longer screw into solid framing, a wood plug repair, or a hinge adjustment. Forcing a larger screw into damaged material can split wood or misalign the door.
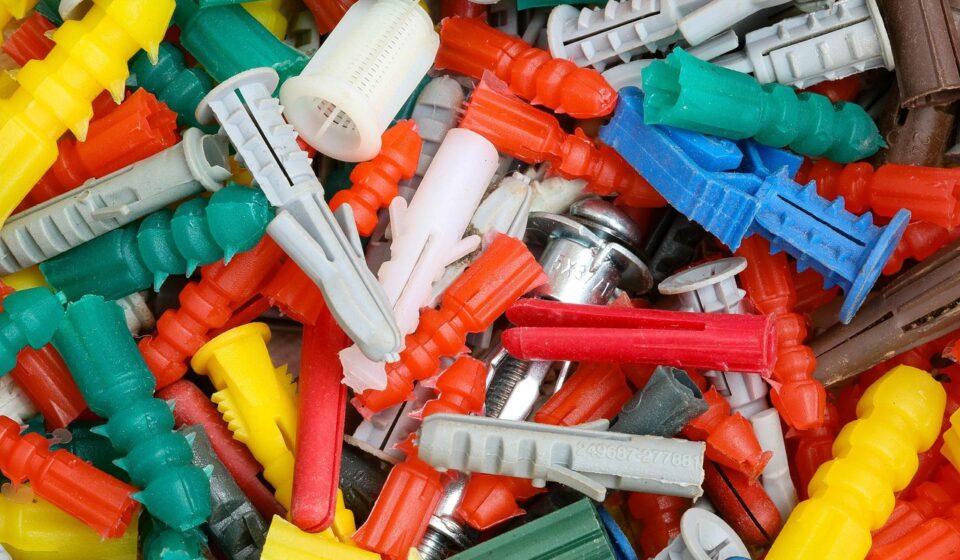
For cabinet doors, drawer slides, towel bars, handrails, and shelves, first identify why the fastener failed. If a screw has pulled out of drywall, use an anchor rated for the load and wall type. If a screw has pulled out of wood, repair the hole before reinstalling. If a bracket is bent, replace the bracket instead of overtightening the same weak point.
Match fasteners to the environment. Indoor zinc-plated screws may be suitable for dry interior use, while exterior areas may need coated, stainless steel, or otherwise corrosion-resistant fasteners. Pressure-treated lumber, masonry, metal framing, and wet locations can require specific fastener materials. Outdoors, the wrong fastener can corrode, stain surfaces, weaken the joint, or make future removal difficult.
Handrails and guardrails deserve extra caution. Tightening a loose screw is reasonable, but movement in the rail, cracked supports, rotted wood, or loose masonry should be treated as a safety issue. If the structure itself is compromised, do not rely on surface fasteners as a permanent repair.
Seal gaps before water and air cause bigger issues
Caulk, sealant, foam tape, and weatherstripping are low-cost materials with an important maintenance role. They help manage air movement, water intrusion, insects, dust, and comfort. The key is using them where they belong and avoiding them where they can trap moisture.
Interior gaps and trim joints
Small cracks along baseboards, casing, and painted trim often appear as materials move with temperature and humidity. Paintable acrylic latex caulk is commonly used in these dry interior locations. Remove loose old caulk, clean away dust, apply a narrow bead, smooth it, and allow it to cure before painting. Do not apply new caulk over dirty, cracked, or peeling material and expect a durable result.
Wet areas around sinks, tubs, and showers
Wet areas need more care. Missing or cracked sealant around tubs, showers, backsplashes, and sinks can allow water to reach wall cavities, cabinets, or subfloors. Remove failed sealant fully, clean soap residue and mildew, let the area dry, and apply a sealant labeled for wet locations. If the wall is soft, tile is loose, or flooring is swollen, surface sealing may hide the problem rather than solve it.
Doors, windows, and drafts
Weatherstripping should compress enough to block air but not so much that doors or windows become difficult to close. Check door sweeps, thresholds, and window locks before adding more material. A badly adjusted latch or sagging door can make even new weatherstripping fail early. For large exterior gaps, look for the reason the gap exists, such as settling, damaged trim, or missing flashing details, before choosing a sealant.
Clean airflow paths and safety devices
Several important maintenance tasks involve airflow rather than visible hardware. The U.S. Fire Administration, Consumer Product Safety Commission, Environmental Protection Agency, Department of Energy, and similar public safety sources regularly emphasize alarm testing, dryer lint control, ventilation, filter maintenance, and safe fuel-burning appliances. Homeowners do not need to memorize every technical document, but they should turn those themes into repeatable habits.
Test smoke alarms and carbon monoxide alarms according to the manufacturer’s instructions. Replace units when they reach the end of their labeled service life, and do not disable alarms because of nuisance alerts. If alarms frequently sound during cooking or near bathrooms, placement, ventilation, or appliance use may need review rather than removal of the alarm.
Dryer maintenance is another high-value task. Clean the lint screen before or after each load, and periodically inspect the vent path for lint buildup, crushed flexible duct, disconnected sections, or poor airflow at the exterior outlet. If drying times increase, clothing feels unusually hot, or the laundry area smells overheated, stop and investigate before continuing regular use. See also: Buying Guides.
HVAC filters should be checked regularly because replacement intervals vary by filter type, system design, pets, dust, renovation work, and household conditions. A filter that looks dark, clogged, or bowed should not be left in place just because the calendar says it is not due yet. Use the size and rating recommended for the system, because a filter that is too restrictive can affect airflow.
Bathroom and kitchen exhaust fans also deserve attention. Dust on fan grilles reduces airflow, and poor ventilation can contribute to condensation on walls, mirrors, ceilings, and cabinets. Clean accessible grilles carefully with power off. Persistent moisture, mold-like growth, or a fan that does not exhaust outdoors may require professional evaluation.
Know which DIY jobs to avoid
Responsible maintenance includes clear limits. A homeowner can tighten a loose cabinet pull, replace a worn door sweep, patch a screen, clean a fan grille, or renew a simple caulk joint. That does not mean every visible problem is a DIY job.
Avoid electrical work beyond your skill level and local rules. Replacing a decorative cover plate is very different from modifying wiring, diagnosing repeated breaker trips, or adding new circuits. If an outlet is warm, sparks, smells burnt, or has visible damage, stop using it and call a qualified electrician.
Be cautious with plumbing problems that involve active leaks, hidden pipes, water heaters, gas lines, sewer odors, or repeated drain backups. Tightening a supply connection under a sink may be manageable, but overtightening fittings can crack parts and make leaks worse. Water damage spreads quickly, so delay is often more expensive than professional help.
Roofing, structural repairs, major exterior flashing issues, and ladder-heavy tasks also require judgment. Falls are a serious home maintenance risk. If a task requires working from an unstable ladder, reaching over edges, handling heavy materials overhead, or guessing at structural loads, the safer decision is to hire a professional.
Common mistakes that make small repairs fail
Many DIY maintenance failures come from rushing preparation rather than using the wrong tool. The first common mistake is repairing a symptom without finding the cause. Caulking a recurring ceiling stain, for example, does not address a roof, plumbing, or condensation source. Tightening a loose bracket does not solve a wall anchor that was never suited to the load.
The second mistake is ignoring surface preparation. Sealants need clean, dry, stable surfaces. Paint needs sanding or cleaning. Adhesive products need the right temperature and pressure. Fasteners need solid material. A few extra minutes of preparation can determine whether a repair lasts for months or fails in days.
The third mistake is mixing incompatible materials. Some sealants cannot be painted. Some metals corrode when used together in wet environments. Some anchors are designed for drywall but not masonry. Some lubricants attract dust or damage plastics. Product labels are not decoration; they are part of the repair instructions.
The fourth mistake is failing to document recurring problems. If a door goes out of alignment every few months, a crack widens, or a damp smell returns after cleaning, the pattern matters. Photos, dates, and notes help separate normal movement from a condition that needs deeper inspection.
Frequently asked questions
What is the most important DIY maintenance task for beginners?
Start with inspection and cleaning. Check alarms, filters, under-sink plumbing, door hardware, visible caulk joints, dryer lint areas, and exterior gaps. These tasks require modest tools but can reveal issues before they become expensive repairs.
How often should I replace caulk?
There is no single replacement interval. Replace caulk or sealant when it is cracked, peeling, missing, mold-stained beyond cleaning, or no longer bonded to the surface. Wet areas need closer attention than dry trim joints.
What hardware supplies should every homeowner keep?
A practical kit includes assorted screws, wall anchors, washers, weatherstripping, a door sweep, painter’s tape, patching compound, sandpaper, suitable caulk or sealant, HVAC filters, batteries, gloves, and safety glasses. Choose sizes and materials that match your actual home.
When should I stop a DIY repair and call a professional?
Stop when the repair involves electrical wiring, gas, structural supports, active water damage, roofing risk, repeated failures, or anything you cannot diagnose confidently. DIY maintenance should reduce risk, not hide a hazard.
The bottom line
The best home maintenance habit is not a dramatic renovation. It is a repeatable routine built around inspection, tightening, sealing, cleaning, and recordkeeping. With a small hardware kit and a seasonal checklist, homeowners can prevent many everyday problems from growing. The smartest DIY approach also respects limits: handle the simple, visible, low-risk tasks yourself, and bring in qualified help when safety, structure, electricity, gas, or persistent water problems are involved.