Essential bicycle tools for roadside repairs and home maintenance
Start with the repairs you actually need to handle
The most useful bicycle tools are the ones that match real repair jobs, not necessarily the largest set on the shelf. For most riders, those jobs include flat tires, loose bolts, minor brake or shifting adjustments, chain problems, and routine cleaning. A compact roadside kit should cover problems that can stop a ride. A home kit can add better leverage, measurement, cleaning supplies, and bike-specific tools that make maintenance safer and more repeatable.
For hardware buyers, the practical question is not only which tools to stock or buy, but which repairs are suitable for home maintenance and which should be left to a qualified mechanic. This guide organizes bicycle tools by use case rather than brand or price tier. For more practical tool coverage, visit the Tools and Accessories section.
Roadside bicycle tools should solve ride-ending problems
A ride kit has one main purpose: get the bicycle moving again safely enough to finish the ride or reach a repair shop. It should be compact, weather-resistant, and simple to use in poor conditions. A roadside kit does not need every workshop tool, but it should cover the failures most likely to happen away from home.
The core items are tire levers, a spare tube or patch kit, a pump or CO2 inflator, and a compact multi-tool. Public repair checklists from outdoor retailers commonly start with these same items because flat tires remain one of the most frequent mechanical problems riders encounter. A spare tube is usually faster than a patch during a commute or group ride, while a patch kit is useful after the spare has been used or when storage space is limited.
The inflation choice matters. A mini pump is reusable and dependable, but slower. A CO2 inflator is fast and compact, but it depends on cartridges and can be awkward for inexperienced users. Riders who travel long distances, ride in remote areas, or use unusual valve types should consider carrying a small pump even if they also carry CO2.
A multi-tool should match the bicycle. Many modern bikes use metric hex keys, and some use Torx fittings on rotors, chainrings, stems, or accessories. The tool should include the sizes actually found on the bike, not just a long list of bits. Riders with bolt-on wheels may also need the correct wrench size, while bikes with quick-release or thru-axle systems may not.
Home maintenance tools are about control and repeatability
A home kit can be larger because it is not limited by saddle-bag space. Its job is to make routine work cleaner, safer, and more accurate. At minimum, a home kit should include quality metric hex keys, Torx keys if the bike uses Torx bolts, screwdrivers, tire levers, a floor pump with a pressure gauge, chain lubricant, degreaser, rags, a brush, and a simple work light.
A floor pump is one of the highest-value home tools. The League of American Bicyclists and similar safety educators encourage riders to check tire pressure before riding, and a gauge makes this easier than guessing by feel. Proper inflation does not remove all puncture risk, but it helps reduce pinch flats and supports predictable handling.
Better hand tools also reduce damage. Long-arm hex keys provide leverage, while shorter ends help in tight spaces. Ball-end hex keys are useful for access, but they are not ideal for final tightening because they can round bolts under high torque. For frequently used sizes, a solid T-handle or workshop-style hex key is often more comfortable than a folding multi-tool.
A repair stand is not essential for every rider, but it can improve the quality of home maintenance. Holding the bike at a stable height makes drivetrain cleaning, brake inspection, cable adjustment, and wheel removal easier. If space or budget is limited, a wall hook, axle stand, or stable floor stand may still be safer than leaning the bike against furniture.
Match specialty tools to the bike before buying them
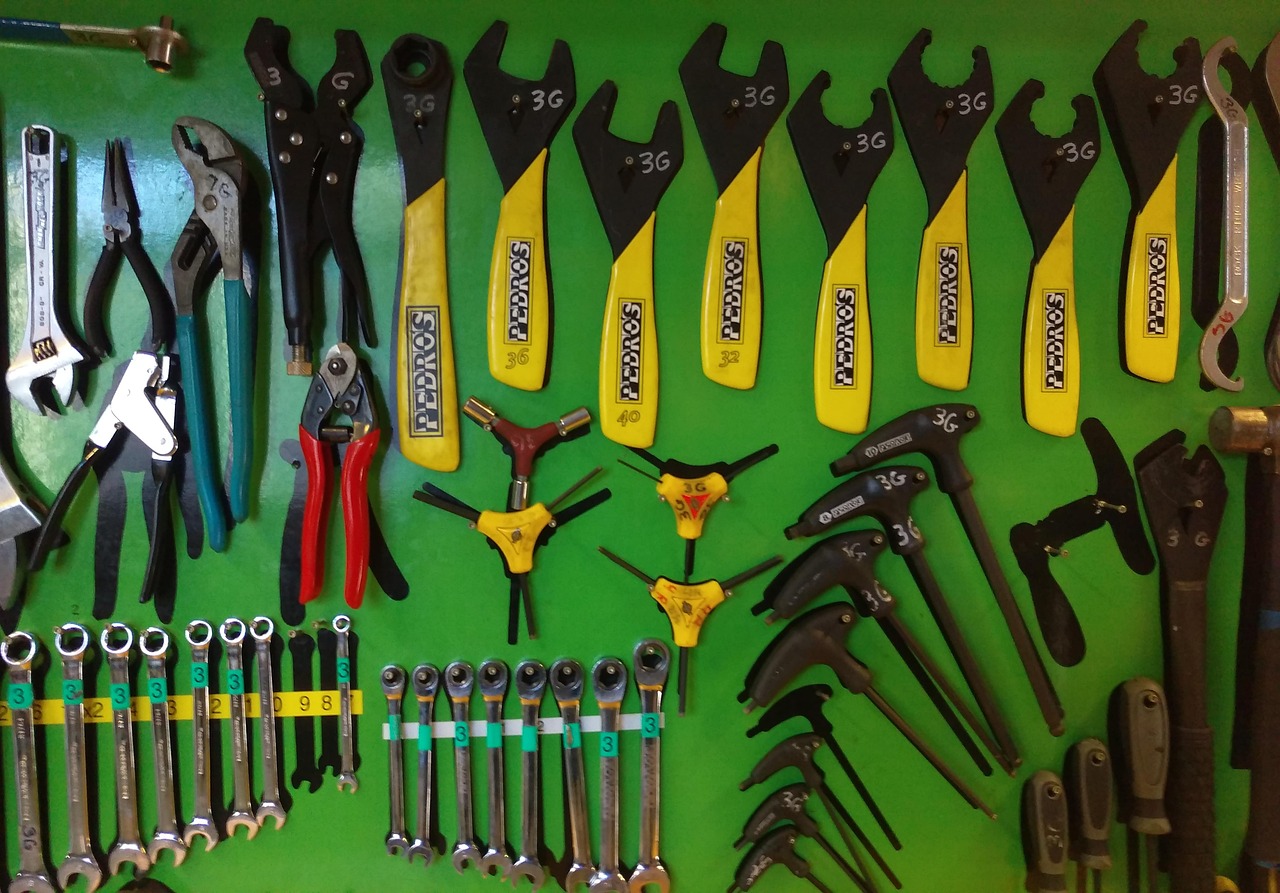
Bicycle tools become more complicated when buyers move beyond universal items. Bottom brackets, cassettes, freewheels, cranksets, pedals, hub bearings, hydraulic brakes, and internally routed cables may all require specific tools. Park Tool repair guidance emphasizes inspecting the bicycle first because tool needs vary by component standard. That advice is especially important for anyone maintaining several bikes from different years or categories.
The same repair can require different tools on different bicycles. One pedal may use a 15 mm wrench flat, while another may use a 6 mm or 8 mm internal hex fitting from the back of the crank. One disc rotor may use Torx bolts, while another wheel may use a lockring tool. One bottom bracket may need an external cup wrench, while another may need a press-fit bearing tool.
Before buying specialty tools, record the bike’s component details. Check the axle type, brake type, drivetrain speed, cassette or freewheel style, bottom bracket standard, crank interface, pedal fitting, and valve type. If the job involves removing parts, also confirm whether new consumables are needed, such as cables, housing, brake pads, chain quick links, sealant, hydraulic fluid, or grease.
| Repair task | Likely tools | Buy now or wait? |
|---|---|---|
| Fix a flat tire | Tire levers, tube or patch kit, pump or CO2 | Buy now |
| Adjust common bolts | Metric hex keys, Torx keys if required, torque wrench for critical bolts | Buy now for regular riders |
| Clean and lubricate drivetrain | Degreaser, brushes, rags, chain lubricant, gloves | Buy now |
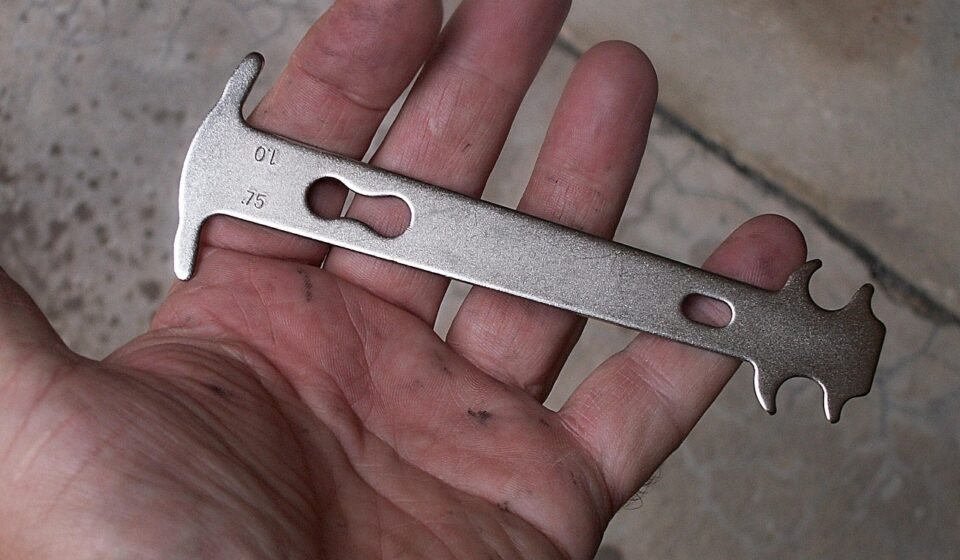
| Replace a chain | Chain tool, master-link pliers, chain checker | Buy if drivetrain work is planned |
| Remove cassette or freewheel | Cassette lockring tool or freewheel remover, chain whip | Wait until the exact standard is confirmed |
| Bleed hydraulic brakes | Brand-compatible bleed kit and correct fluid | Buy only with training and correct specifications |
| Service bottom bracket | Standard-specific wrench, press, puller, or adapters | Wait until the exact component is identified |
Use a torque wrench where over-tightening has consequences
Many bicycle bolts are small, and many modern components are made from aluminum, carbon fiber, or thin-wall steel. Over-tightening can strip threads, crush parts, or create hidden damage. Under-tightening can allow movement, noise, or loss of control. For these reasons, a torque wrench is one of the most important upgrades from a casual tool kit to a serious maintenance kit.
Manufacturer manuals often specify torque values in newton-meters. Shimano dealer documents, for example, instruct mechanics to use a torque wrench on certain crank and pedal installations and provide specific torque ranges for those components. Those values are not universal across every bicycle part, but they illustrate the larger point: critical fasteners should be tightened to the manufacturer’s specification, not by guesswork.
A small-range torque wrench is useful for stems, seatposts, controls, brake clamps, rotors, and many cockpit parts. A larger-range wrench may be needed for pedals, cassette lockrings, some bottom bracket parts, and crank bolts. Riders should check the component manual and use the correct bit fully seated in the fastener. A torque wrench should also be stored and used according to its instructions so it remains accurate.
Carbon parts deserve extra caution. A carbon seatpost, handlebar, steerer, or frame fitting may require assembly paste, a clean clamping surface, and a precise torque value. If a part slips at the correct torque, the answer is not simply to tighten harder. The surface, clamp design, part compatibility, and possible damage should be inspected.
Good bicycle tools depend on material, fit, and ergonomics
For a hardware-focused buyer, tool quality is often visible in the details. Hex and Torx tools should have crisp edges, accurate sizing, and durable steel that resists twisting. Poorly fitting tools round fasteners, and rounded fasteners can turn a simple adjustment into a costly repair. See also: Buying Guides.
Handles should provide control, not just force. A long handle helps break loose a stubborn bolt, but excessive leverage on a small fastener is risky. Comfortable grips matter for repeated use, especially when cleaning chains, adjusting brakes, or assembling accessories. Chrome plating, black oxide, or other finishes can help resist corrosion, but the underlying steel quality and machining accuracy are more important than appearance alone.
Tire levers are a useful example of material trade-offs. Plastic levers are light and less likely to scratch rims, but very thin levers can snap. Metal levers are strong, but they can damage rims or tubes if used carelessly. For most modern bicycles, a strong composite lever is a practical compromise.
Storage is also part of tool performance. Small bits, valve adapters, quick links, patches, and spare bolts are easy to lose. A divided box, roll pouch, or labeled drawer prevents duplicate purchases and helps riders find the right tool before a repair becomes rushed.
Know the line between maintenance and safety-critical repair
Some tasks are suitable for careful home mechanics: inflating tires, cleaning chains, replacing tubes, checking bolt tightness, installing accessories, and making small position adjustments. Other tasks carry higher risk if done incorrectly, including hydraulic brake bleeding, suspension service, wheel building, carbon steerer work, internal cable routing, electronic drivetrain setup, and bearing press work.
U.S. bicycle safety rules under CPSC 16 CFR Part 1512 cover areas such as braking performance and reflectors for bicycles introduced into commerce. Those rules are directed at manufacturers, importers, and sellers rather than serving as a repair manual for riders, but they highlight why brakes, steering, wheels, pedals, and visibility equipment should be treated as safety-critical systems.
A simple pre-ride inspection reduces surprises. The common ABC Quick Check approach starts with air, brakes, chain and drivetrain, quick releases or axles, and a short final check. Tools support that inspection, but they do not replace judgment. If a brake lever pulls to the handlebar, a wheel is not secure, a crank has play, a frame is cracked, or a chain skips under load, the bike should not be ridden until the cause is found.
Build the kit in stages instead of buying everything at once
The practical way to buy bicycle tools is in stages. Start with the tools that prevent common ride interruptions. Add home maintenance tools once routine cleaning and adjustment become regular. Buy specialty tools only when the bicycle’s exact standard is known and the repair will be repeated often enough to justify the cost.
For a commuter, the first stage is a saddle kit: tube, patch kit, levers, inflation tool, and multi-tool. The second stage is a home kit: floor pump, hex keys, Torx keys if needed, cleaner, lubricant, rags, and a chain wear checker. The third stage may include a torque wrench, cable cutters, master-link pliers, cassette tools, and a work stand. The final stage includes component-specific tools for bottom brackets, hubs, hydraulic brakes, suspension, or wheel work.
This staged approach prevents two common mistakes. The first is buying a large generic set full of tools that do not match the bike. The second is attempting a complex repair without the measuring tools, replacement parts, or technical information needed to complete it safely. A smaller kit that fits the bicycle is usually more valuable than a larger kit that creates uncertainty.
Frequently asked questions
What bicycle tools should every rider carry?
Most riders should carry tire levers, a spare tube or patch kit, a pump or CO2 inflator, and a multi-tool that fits the bike’s fasteners. Longer rides may justify adding a chain tool, quick link, small pliers, zip ties, and a spare derailleur hanger if the bike uses a replaceable one.
Is a torque wrench necessary for bicycle maintenance?
It is not needed for every simple task, but it is strongly recommended for stems, handlebars, seatposts, crank bolts, brake parts, and carbon components. Whenever a manufacturer provides a torque value, a torque wrench is the safest way to follow it.
Are automotive tools suitable for bikes?
Some are suitable, especially metric sockets, screwdrivers, and general pliers. However, bicycles often need thinner cone wrenches, cassette tools, bottom bracket tools, chain tools, spoke wrenches, and torque ranges that may differ from automotive work. Fit should always be checked before applying force.
Which tool should be upgraded first?
For home use, upgrade the floor pump and hex keys first because they are used often and affect everyday reliability. For more advanced work, add a torque wrench before buying many specialty removers.
How do I avoid buying the wrong specialty tool?
Identify the exact component standard before purchase. Check the drivetrain speed, cassette or freewheel type, bottom bracket design, crank interface, brake model, axle type, and fastener style. If those details are unclear, ask a bicycle mechanic to identify the part before buying tools.