Welding tools and equipment guide for workshops and job sites
What welding tools and equipment should cover
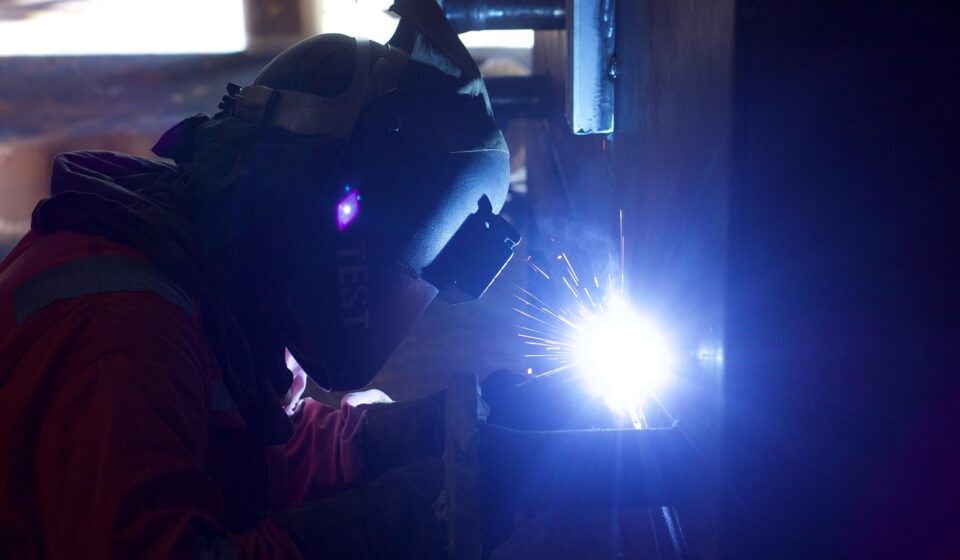
Choosing welding tools and equipment starts with the work system, not just the welder. The process, material thickness, joint access, power supply, consumables, PPE, ventilation, fire control, and finishing steps all affect what belongs on the list. A small repair bench, a fabrication shop, and a field welding cart may use the same broad categories of gear, but their priorities will be different. AWS ANSI Z49.1:2021 treats welding safety as an environment-wide issue covering personnel protection, ventilation, fire prevention, and confined spaces. That is a useful way to plan equipment instead of adding safety items after the machine is already selected. (pubs.aws.org)
This guide focuses on practical selection logic rather than brand rankings. For related hand tools, abrasives, clamps, storage items, and workshop accessories, the Tools and Accessories section is the most relevant internal category to continue browsing.
Match the machine to the welding process
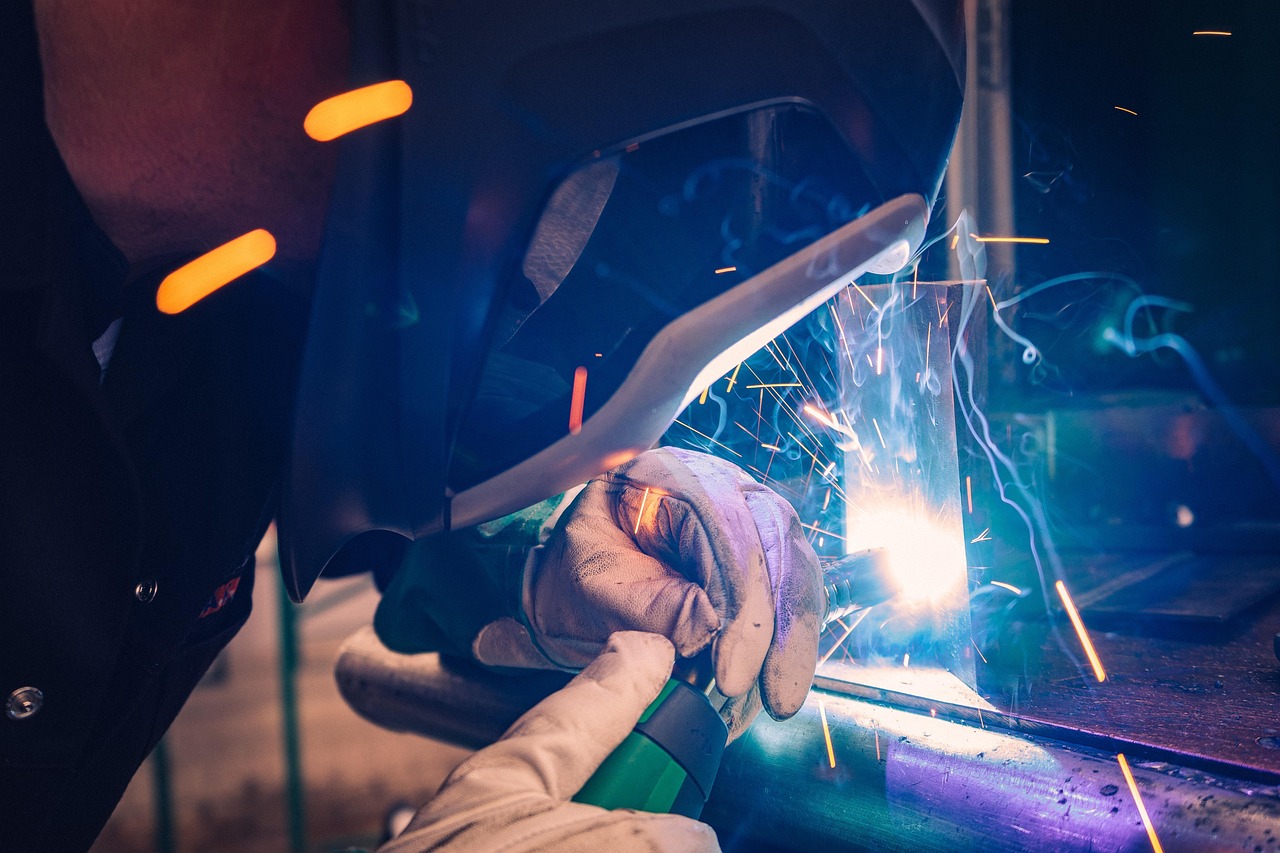
The main equipment decision is the welding process. MIG, TIG, stick, and flux-cored welding do not only require different machines. They also change the consumables, shielding gas requirements, cleanup work, operator control, and supporting accessories. The National Board’s welding process overview distinguishes common arc-welding processes such as shielded metal arc welding, gas metal arc welding, gas tungsten arc welding, and flux-cored arc welding, making it a practical starting point for matching equipment to the job. (nationalboard.org)
| Process | Core equipment | Typical fit | Selection notes |
|---|---|---|---|
| MIG or GMAW | Power source, wire feeder or integrated feed, MIG gun, ground clamp, wire, shielding gas, regulator | General fabrication, repairs, production work, thinner to medium steel depending on machine capacity | Check wire-size range, input power, duty cycle, gas handling, and whether the shop can keep shielding gas protected from drafts. |
| Flux-cored or FCAW | Wire-feed welder, flux-cored wire, gun, ground clamp, optional shielding gas depending on wire type | Outdoor repair, structural work, maintenance, and jobs where a slag-forming wire is acceptable | Confirm wire polarity and whether the wire is self-shielded or gas-shielded; plan for slag removal and fume control. |
| TIG or GTAW | TIG power source, torch, tungsten electrodes, filler rods, shielding gas, foot pedal or fingertip control | Precise welds, stainless steel, aluminum with suitable AC equipment, thin sections, visible welds | Prioritize arc control, gas coverage, tungsten preparation, torch comfort, and clean material preparation. |
| Stick or SMAW | Stick welder, electrode holder, ground clamp, welding leads, coated electrodes | Field repair, maintenance, heavier sections, less-clean environments compared with TIG or MIG | Match amperage range to electrode sizes, inspect leads carefully, and keep electrodes dry according to their storage requirements. |
| Oxyfuel and cutting support | Cylinders, regulators, hoses, torch, tips, striker, flashback protection, cart, PPE | Heating, brazing, cutting, and fit-up support where flame processes are appropriate | Gas handling, regulator condition, hose routing, leak checks, and fire control are central to safe use. |
A multiprocess machine can help when floor space is limited or the work mix changes often, but it is not automatically the simpler option. Buyers still need the correct torches, leads, gas hardware, consumables, spare parts, and training for each process they plan to use. In a shop, a dedicated machine may be easier to set up repeatedly. For maintenance work, portability and power flexibility may carry more weight.
Safety gear belongs in the primary equipment list
Welding PPE is not optional supporting gear. OSHA’s general-industry welding requirements state that employees exposed to hazards from welding, cutting, or brazing must be protected by personal protective equipment. OSHA’s construction welding standard also addresses eye protection, radiation protection, and ventilation where unsafe contaminant accumulation may occur. (osha.gov)
A basic welding safety set usually includes the following:
- Auto-darkening or fixed-shade welding helmet with the correct shade range for the process and amperage.
- Safety glasses with side protection, worn under the helmet when grinding, chipping, or working near other welders.
- Welding gloves selected for heat, dexterity, and process type; TIG gloves and heavy stick gloves serve different purposes.
- Flame-resistant jacket, sleeves, apron, or leathers that cover exposed skin.
- Closed, durable footwear suitable for sparks, hot metal, and shop-floor impact risks.
- Hearing protection when grinding, gouging, cutting, or working around repeated impact and arc noise.
- Respiratory protection only when selected as part of a proper exposure-control program, not as a substitute for ventilation planning.
Ventilation and fume control
Fume control should be planned before welding begins, especially with stainless steel, coated metals, confined spaces, high-production work, or poorly ventilated areas. NIOSH explains that welding fume health effects can vary with exposure intensity, exposure duration, and the specific metals involved. Its engineering-control guidance also discusses local exhaust ventilation systems that capture fumes near the source. AWS safety materials emphasize using adequate ventilation or local exhaust to keep fumes and gases away from the breathing zone and following safety data sheets and manufacturer instructions. (cdc.gov)
Fire control and hot work readiness
Fire prevention is part of equipment planning because sparks, spatter, slag, and hot workpieces can ignite nearby combustibles after the arc stops. OSHA’s welding and cutting rule references fire prevention responsibilities for welders, supervisors, contractors, and facility management, and it points to NFPA 51B for additional fire-prevention precautions. For a practical workshop list, fire extinguishers, spark screens, fire-resistant blankets, cylinder restraints, safe cable routing, and a clear inspection area are as important as the welding machine itself. (osha.gov)
Supporting tools that affect weld quality
The tools around the arc often decide whether a weld is repeatable. A machine with adequate output can still produce poor results if the joint is dirty, the ground path is weak, the material is misaligned, or the consumables are damp, damaged, or mismatched.
- Fit-up tools: C-clamps, locking pliers, magnetic squares, fixture tables, angle plates, and tack-welding aids help keep parts stable before and during welding.
- Measuring and layout tools: Tape measures, combination squares, scribes, soapstone, calipers, angle gauges, and radius tools reduce rework before the first tack weld.
- Surface preparation tools: Wire brushes, flap discs, grinding wheels, files, carbide burrs, and degreasing supplies help remove rust, mill scale, paint, oil, and sharp edges.
- Grounding and cable tools: Clean ground clamps, correctly sized leads, cable covers, and lead management reduce resistance, heat buildup, and trip hazards.
- Post-weld cleanup tools: Chipping hammers, slag brushes, grinders, scrapers, and inspection lights make it easier to evaluate bead profile and surface defects.
- Storage tools: Electrode ovens where required, sealed containers, wire covers, torch holders, and gas-cylinder carts protect consumables and reduce handling damage.
Metalworking shops should treat these items as production tools, not minor accessories. Better clamping can reduce distortion. Cleaner preparation can reduce porosity risk. Better lighting can improve torch angle and puddle visibility. None of these replaces welding skill, but they make good technique easier to repeat.
Build the setup around power, material, and access
Power and duty cycle
Before selecting a welding machine, confirm the available input power, breaker capacity, extension-cord limits, and portability requirements. Small 120 V machines can be convenient for light repair, while heavier fabrication often needs higher input capacity. Duty cycle also matters. A machine that can weld briefly at a rated output may not support long beads or repeated production work without cooling time. The practical question is not only whether the machine can strike an arc, but whether it can support the work rhythm without overheating or forcing poor technique.
Material and joint access
Material thickness, base metal, joint design, and access angle should guide torch, lead, and consumable choices. Thin sheet metal may require fine heat control, short tacks, and careful fit-up. Heavy plate may require beveling, multi-pass welding, pre-cleaning, and stronger workholding. A field repair inside a tight frame can make lead flexibility and torch size more important than maximum amperage. If the operator cannot see the puddle, maintain angle, or keep a stable body position, equipment capacity alone will not solve the problem. See also: Buying Guides.
Consumable control
Consumables should be selected and stored as part of the system. Wire diameter, electrode classification, tungsten type, filler rod diameter, contact tip size, nozzle condition, and shielding gas all influence consistency. Shops should avoid mixing unknown electrodes, leaving wire exposed to dirt or moisture, or using worn contact tips after every other setting has been checked. A simple labeled storage system often prevents more mistakes than a complicated repair procedure.
A practical checklist before welding
A short pre-weld check can prevent many equipment-related problems. It does not replace formal safety procedures, code requirements, or qualified supervision, but it helps organize the tools and accessories that must be ready before the arc starts.
- Confirm the process and material: Identify base metal, approximate thickness, joint type, position, and expected weld length.
- Check the machine setup: Verify input power, polarity, wire speed or amperage range, torch connection, ground clamp condition, and cooling needs.
- Prepare the joint: Remove contamination, fit parts closely, bevel where required, and clamp the assembly to reduce movement.
- Confirm consumables: Match wire, electrode, tungsten, filler rod, gas, contact tip, and nozzle to the process and job.
- Inspect PPE: Check helmet lens function, safety glasses, gloves, clothing coverage, footwear, and hearing protection.
- Control fumes and gases: Position local exhaust, open appropriate ventilation, and avoid placing the breathing zone directly over the plume.
- Control fire risk: Move combustibles, shield nearby surfaces, secure cylinders, stage extinguishing equipment, and inspect the area after hot work.
- Plan finishing and inspection: Keep brushes, grinders, lighting, gauges, and cleaning tools ready before the part becomes difficult to handle.
Common selection mistakes and how to avoid them
- Buying only for maximum amperage: Output matters, but process control, duty cycle, torch quality, leads, and consumables may matter more for everyday weld quality.
- Ignoring PPE until after the machine purchase: A realistic equipment budget should include helmet, gloves, clothing, eye protection, ventilation, fire control, and safe storage.
- Choosing the process before defining the work: The right equipment for thin stainless assemblies may be wrong for outdoor structural repair or heavy maintenance.
- Underestimating preparation tools: Many weld defects begin before welding, with poor fit-up, contamination, unstable clamping, or a weak ground connection.
- Assuming one setup covers all positions: Flat bench work, overhead repair, pipe joints, and confined-access fabrication can require different torch sizes, lead lengths, PPE coverage, and fume-control planning.
- Skipping documentation: Even small shops benefit from labeled consumables, machine setting notes, inspection records, and manufacturer manuals kept near the work area.
The strongest equipment list is specific rather than long. Start with the process and work environment, then add the tools needed to prepare, hold, weld, clean, inspect, and store safely. That approach helps prevent both underbuying critical safety items and overbuying machines that do not fit the actual work.
Frequently asked questions
What welding equipment should a beginner get first?
A beginner should start with supervised training, suitable PPE, a process matched to the intended material, a properly rated machine, work clamp and leads, correct consumables, basic fit-up tools, surface-preparation tools, ventilation planning, and fire-control equipment. The safest first list is not the cheapest list; it is the one that lets the operator practice consistently without bypassing protection.
Is MIG, TIG, or stick welding better?
No single process is better for every job. MIG is often practical for general fabrication and production-style work, TIG provides high control for clean and precise welds, and stick remains useful for maintenance and field repair. The better question is which process fits the material, position, location, appearance requirement, and available skill.
Do welding fumes matter if the work is outdoors?
Outdoor air movement can help, but it does not automatically remove exposure risk from the breathing zone. Fume levels still depend on the process, metal, coating, electrode or wire, body position, and wind direction. NIOSH and AWS guidance both support controlling fumes near the source and keeping the plume away from the welder’s breathing zone where possible. (cdc.gov)
Which accessories have the biggest impact on weld quality?
Clean ground clamps, stable workholding, correct contact tips or electrodes, proper shielding gas hardware, clean prep tools, and good lighting often make the biggest day-to-day difference. These accessories improve consistency before advanced machine features become useful.
How often should welding tools and equipment be inspected?
Critical items should be checked before use, especially cables, clamps, torches, hoses, regulators, helmets, gloves, ventilation equipment, and fire-control items. More formal inspection intervals should follow the manufacturer’s instructions, workplace safety procedures, and any applicable regulatory or code requirements.